
One of the desserts for my Italian Dinner Night was an Orange Olive Cake, oh my gosh was it awesome! I love anything citrusy, and this cake was soooo good. It was moist, that is always at the top of my list when eating cake. It was especially good because there is no frosting on this cake, it doesn't need it! I made two cakes for my dinner and by the end of the night, all but two small pieces were left. It was a fan of everyone, as some took pieces of it home and wanted the recipe. I served my cake with fresh whipped cream on the side sprinkled with a little orange zest.
This cake is going to be a staple in my house. The hubby loved it, we were fighting over the last piece of the cake, shame on us, we know how to share!
This is one of the easiest cakes I have ever baked, and outside of my homemade chocolate cake, this one is a number one too. This is how I made it.
Recipe below.
To print recipe, click on it, highlight and print.
To view photos in a larger format, click on them.
Simple ingredients is all it takes to make this delicious cake and I always have these ingredients in the house, so I didn't have to run to the store.

Spray your spring form pan with baking spray, cut a round of parchment paper by tracing around bottom of pan. Cut inside the trace mark, place the round in the bottom of pan.


Zest oranges, and start mixing ingredients together.

Don't forget to wrap outside bottom of pan with foil.

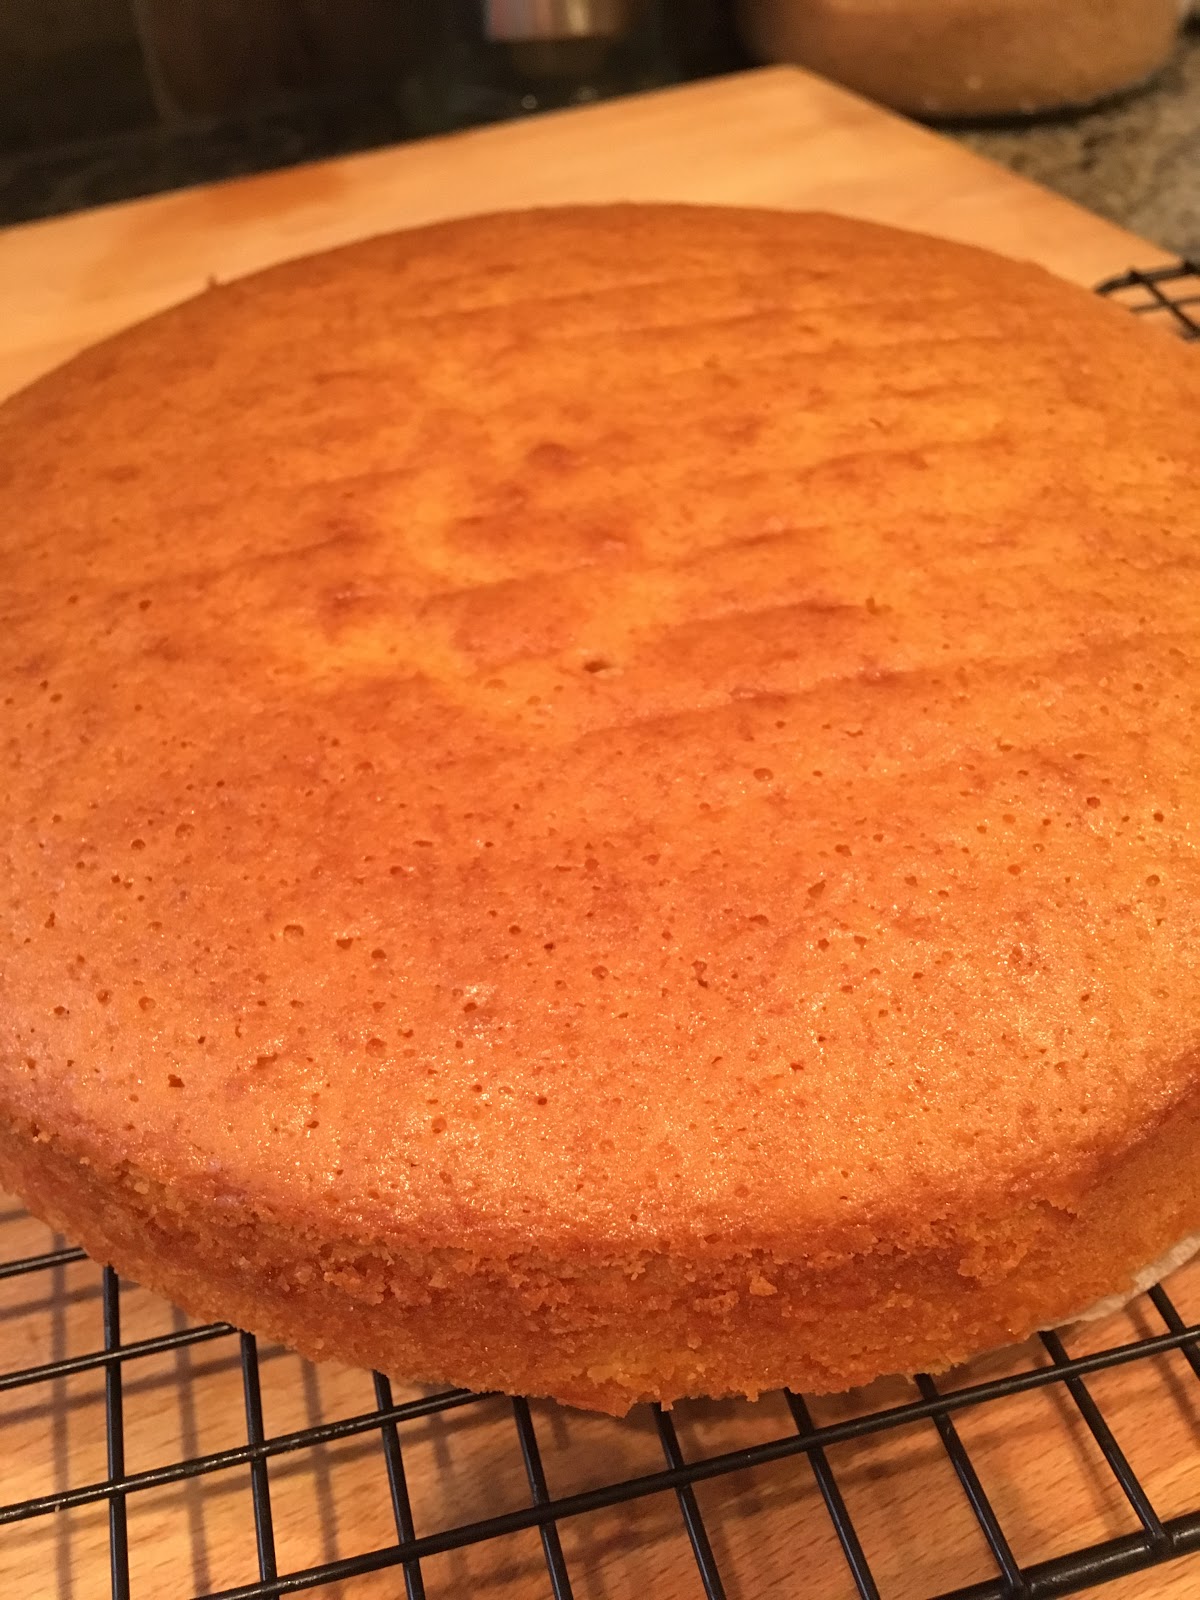
Cake is done and cooled.
There it is in the back, dusted with confectioner's sugar and looking pretty tasty!

Orange Olive Oil Cake
Ingredients
zest
from 1 1/2 - 2 oranges, I like a lot of zest in it for more flavor
1
3/4 cups unbleached white flour
1 teaspoon baking
powder
1 teaspoon salt
1 teaspoon salt
1/8 teaspoon ground
cardamom, optional (see note)
3 eggs
1
1/4 cups sugar
3/4 cups
regular extra virgin olive oil, do not use flavored oils
3/4 cup Simply Orange No Pulp Orange Juice
3/4 cup Simply Orange No Pulp Orange Juice
Confectioner's
sugar for dusting on top of cooled cake
Directions
Preheat
oven to 350 degrees. Spray a 9 inch spring form pan with cooking spray.
Place a round of parchment in the bottom of the pan and spray lightly
with cooking spray. Wrap the outside of the pan bottom in heavy duty foil
to catch any leaks.
Zest
oranges, set aside. Whisk
together flour, baking powder, salt and cardamom (if using), set aside.
In large bowl, beat eggs on medium high with mixer until broken up and combined, about 1 minute.
In large bowl, beat eggs on medium high with mixer until broken up and combined, about 1 minute.
Slowly
add sugar and continue beating until light and pale yellow, about 3
minutes. On low
speed, alternate adding the flour mixture and oil to the egg mixture, beginning and ending with the flour mixture. (1/3 flour, 1/2 oil,
1/3 flour, 1/2 oil, 1/3 flour) mixing until mostly combined after each
addition. On low
speed, add the orange juice and zest until all is combined.
Pour batter into prepared pan.
Bake for 50-60 minutes or until cake tester/toothpick inserted in center comes out with just a few moist crumbs. If you notice cake starting to get really brown, tent a piece of foil over the top for the remaining baking time. Remember all ovens are different, mine took exactly 55 minutes.
Remove from oven to a cooling rack, allow to cool for 5-10 minutes in pan. Take a paddle knife and go around the edge between the pan and cake to loosen it from the ring. Remove ring around spring form pan and allow to cool completely on a rack.
Cover cake and let sit overnight.
Dust with confectioner's sugar and serve. Make 1 cake.
NOTE: Cardamom has a spicy, herbal, citrusy, smoky flavor to it. The 1/8 teaspoon this recipe called for gave this cake a hint of the taste. If you want more of that taste, use your judgement and use more Cardamom, but if you don't like it or are allergic to it leave it out.


