
I know, I know, it's early, but I had to start early this year for Christmas, I have lots to do. I have been busy making decorations from things around my house using some of my artistic talent (not good), organizing cookie baking party #11 (my sister started that flame!) and planning how my Christmas decorations are going to be used this year throughout my home. There are a lot of decorations I might add, my family runs and hides when it's time to pull them all out. They try to excuse themselves from the whole situation, imagine that. I don't think they like the holiday as much as I do, it truly is my favorite holiday. I am going to start the decorating of the house in the beginning of November, and yes it will take me that long to decorate it, I have to be ready by December 17 for the cookie party!
PROJECT #1 - I spotted this wood tool box in IKEA for $9.99, I have a similar one that is imprinted with BLESSINGS on the front. A relative gave it to me for a house warming gift many years ago, and I love it. I wanted to make one that said MERRY CHRISTMAS on it. Me not being artistic, I can't draw to save my life, the next best thing was to.....

Print out a fancy font MERRY CHRISTMAS from my trusty printer. I traced it on the reverse, flipped it over and traced it on to the box. I was going to use freezer paper to make a transfer to do this, but I was afraid it would get stuck in my printer, so I went old school tracing the hard way.


You never know what you'll find browsing in Marshall's, I found these glitter dusts last year, they add sparkle and shine to my wording, they were $4.99. You only need a little, it goes a long way.

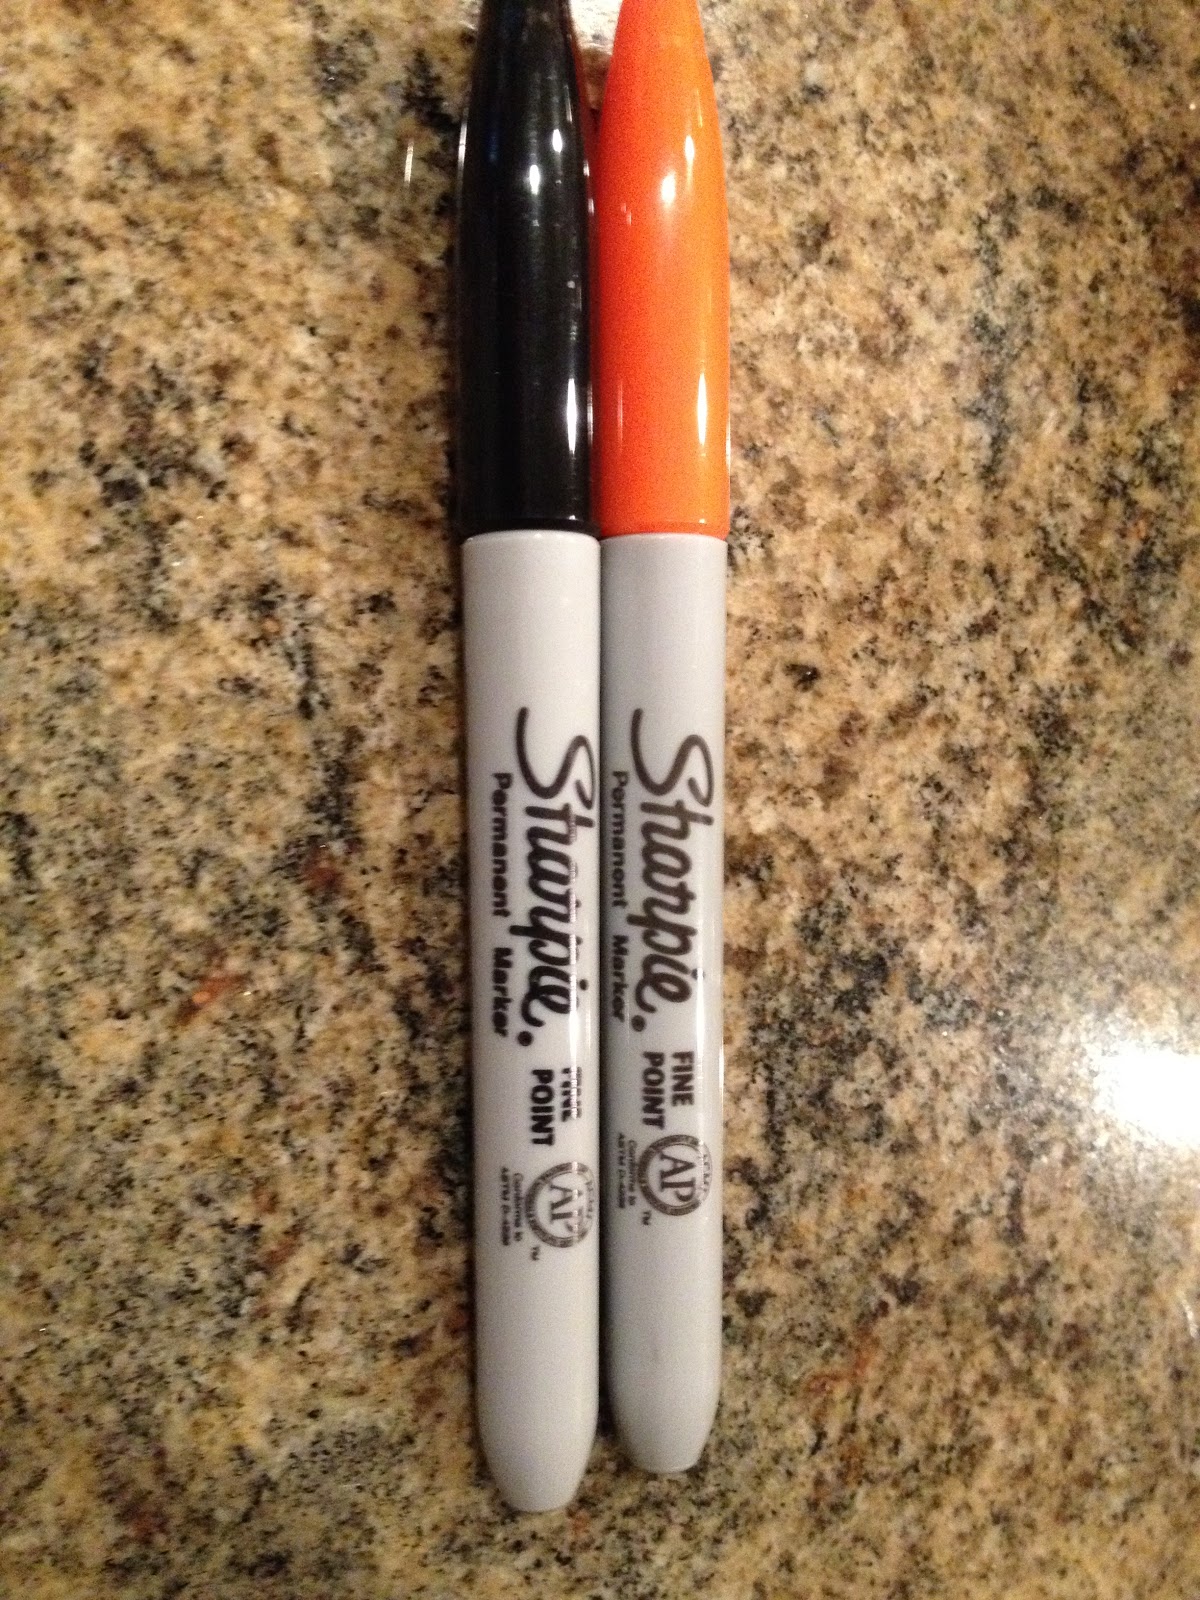
After tracing the wording onto the box, I went over it with a black Sharpie, let it dry, then used a fine pointed paintbrush to apply Modge Podge on just the wording. Sprinkled on the glitter, tapped the excess off onto a sheet of waxed paper so I could reuse it or return it the the canister, no waste.

A handmade bow to help finish it off. Plaid is all over the place this year for the holidays, I love it!

A snow covered sprig of pine and mini pine cones dress it up. The cost for this project was about $12.

PROJECT #2 - This old wood window has been sitting in my garage for over ten years, it was about time I did something with it. I drug it out, cleaned it up, didn't paint it or anything, it was already chipped and worn so it was perfect.

I used window paint writers (I have terrible handwriting!) and wrote the phase on the front side of the window. The window writers are perfect for a project like this, all you have to do if you make a mistake, is use window cleaner and a paper towel to remove it. Leaves this project open for all year round decorating.

The snow covered pine cone stem for $4.99 is from Big Lots, the ribbon from Hobby Lobby.


I used a couple of sprays of "snow" that I already had, and sprayed the back of the window panes.

All done, my mantle for Christmas is almost complete! But yeah, I have to get someone with better hand writing to rewrite that phrase.

The cost for this project was about $6.50, pretty inexpensive, considering what you would pay in a home store for a 40"L x 19"W window type picture.

PROJECT #3 - Made a little picture of a snowman on burlap. Burlap is somewhat hard to work with, if you don't know what you're doing like me. I didn't want it to stretch, fray, bleed marker and paint while I was working with it, so I found this vinyl backed burlap at Michael's, it worked perfect for this project.

I used Sharpies and Paint Pens to draw and fill in my snowman, how does he look?

He's ADORABLE! Already had the ribbon (from the box project), the sharpies, paint pens and the frame, so cost of this project was about $2.00. Pretty cute and easy to do.


