Showing posts with label crafts. Show all posts

Thursday, October 13, 2016

Christmas Is Coming

I know, I know, it's early, but I had to start early this year for Christmas, I have lots to do.  I have been busy making decorations from things around my house using some of my artistic talent (not good), organizing cookie baking party #11 (my sister started that flame!) and planning how my Christmas decorations are going to be used this year throughout my home.  There are a lot of decorations I might add, my family runs and hides when it's time to pull them all out.  They try to excuse themselves from the whole situation, imagine that. I don't think they like the holiday as much as I do, it truly is my favorite holiday. I am going to start the decorating of the house in the beginning of November, and yes it will take me that long to decorate it, I have to be ready by December 17 for the cookie party!

PROJECT #1 - I spotted this wood tool box in IKEA for $9.99, I have a similar one that is imprinted with BLESSINGS on the front.  A relative gave it to me for a house warming gift many years ago, and I love it.  I wanted to make one that said MERRY CHRISTMAS on it.  Me not being artistic, I can't draw to save my life, the next best thing was to.....
 Print out a fancy font MERRY CHRISTMAS from my trusty printer.  I traced it on the reverse, flipped it over and traced it on to the box.  I was going to use freezer paper to make a transfer to do this, but I was afraid it would get stuck in my printer, so I went old school tracing the hard way.
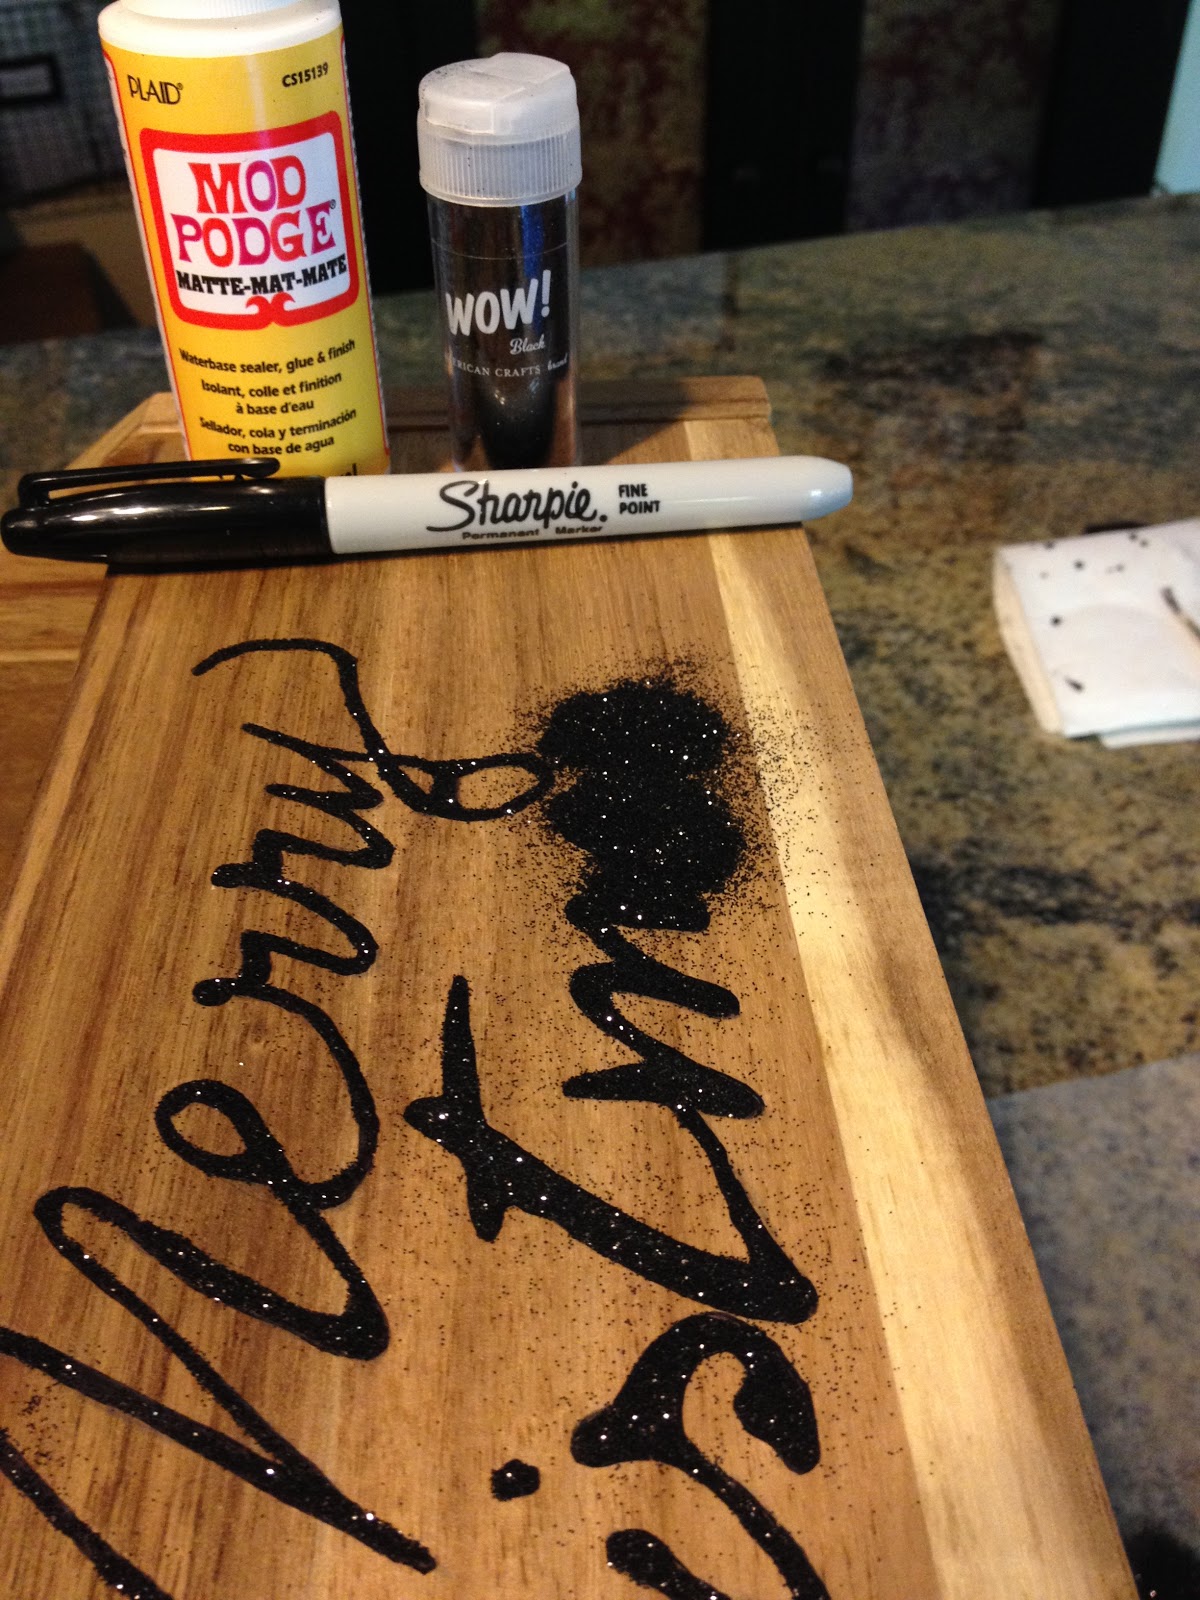
 You never know what you'll find browsing in Marshall's, I found these glitter dusts last year, they add sparkle and shine to my wording, they were $4.99. You only need a little, it goes a long way.
 After tracing the wording onto the box, I went over it with a black Sharpie, let it dry, then used a fine pointed paintbrush to apply Modge Podge on just the wording.  Sprinkled on the glitter, tapped the excess off onto a sheet of waxed paper so I could reuse it or return it the the canister, no waste.
 A handmade bow to help finish it off.  Plaid is all over the place this year for the holidays, I love it!
 A snow covered sprig of pine and mini pine cones dress it up.  The cost for this project was about $12.
PROJECT #2 - This old wood window has been sitting in my garage for over ten years, it was about time I did something with it.  I drug it out, cleaned it up, didn't paint it or anything, it was already chipped and worn so it was perfect.   
 I used window paint writers (I have terrible handwriting!) and wrote the phase on the front side of the window.  The window writers are perfect for a project like this, all you have to do if you make a mistake, is use window cleaner and a paper towel to remove it.  Leaves this project open for all year round decorating.
 The snow covered pine cone stem for $4.99 is from Big Lots, the ribbon from Hobby Lobby.
 I used a couple of sprays of "snow" that I already had, and sprayed the back of the window panes.
 All done, my mantle for Christmas is almost complete!  But yeah, I have to get someone with better hand writing to rewrite that phrase.  
   The cost for this project was about $6.50, pretty inexpensive, considering what you would pay in a home store for a 40"L x 19"W window type picture.
PROJECT #3 - Made a little picture of a snowman on burlap.  Burlap is somewhat hard to work with, if you don't know what you're doing like me.  I didn't want it to stretch, fray, bleed marker and paint while I was working with it, so I found this vinyl backed burlap at Michael's, it worked perfect for this project. 
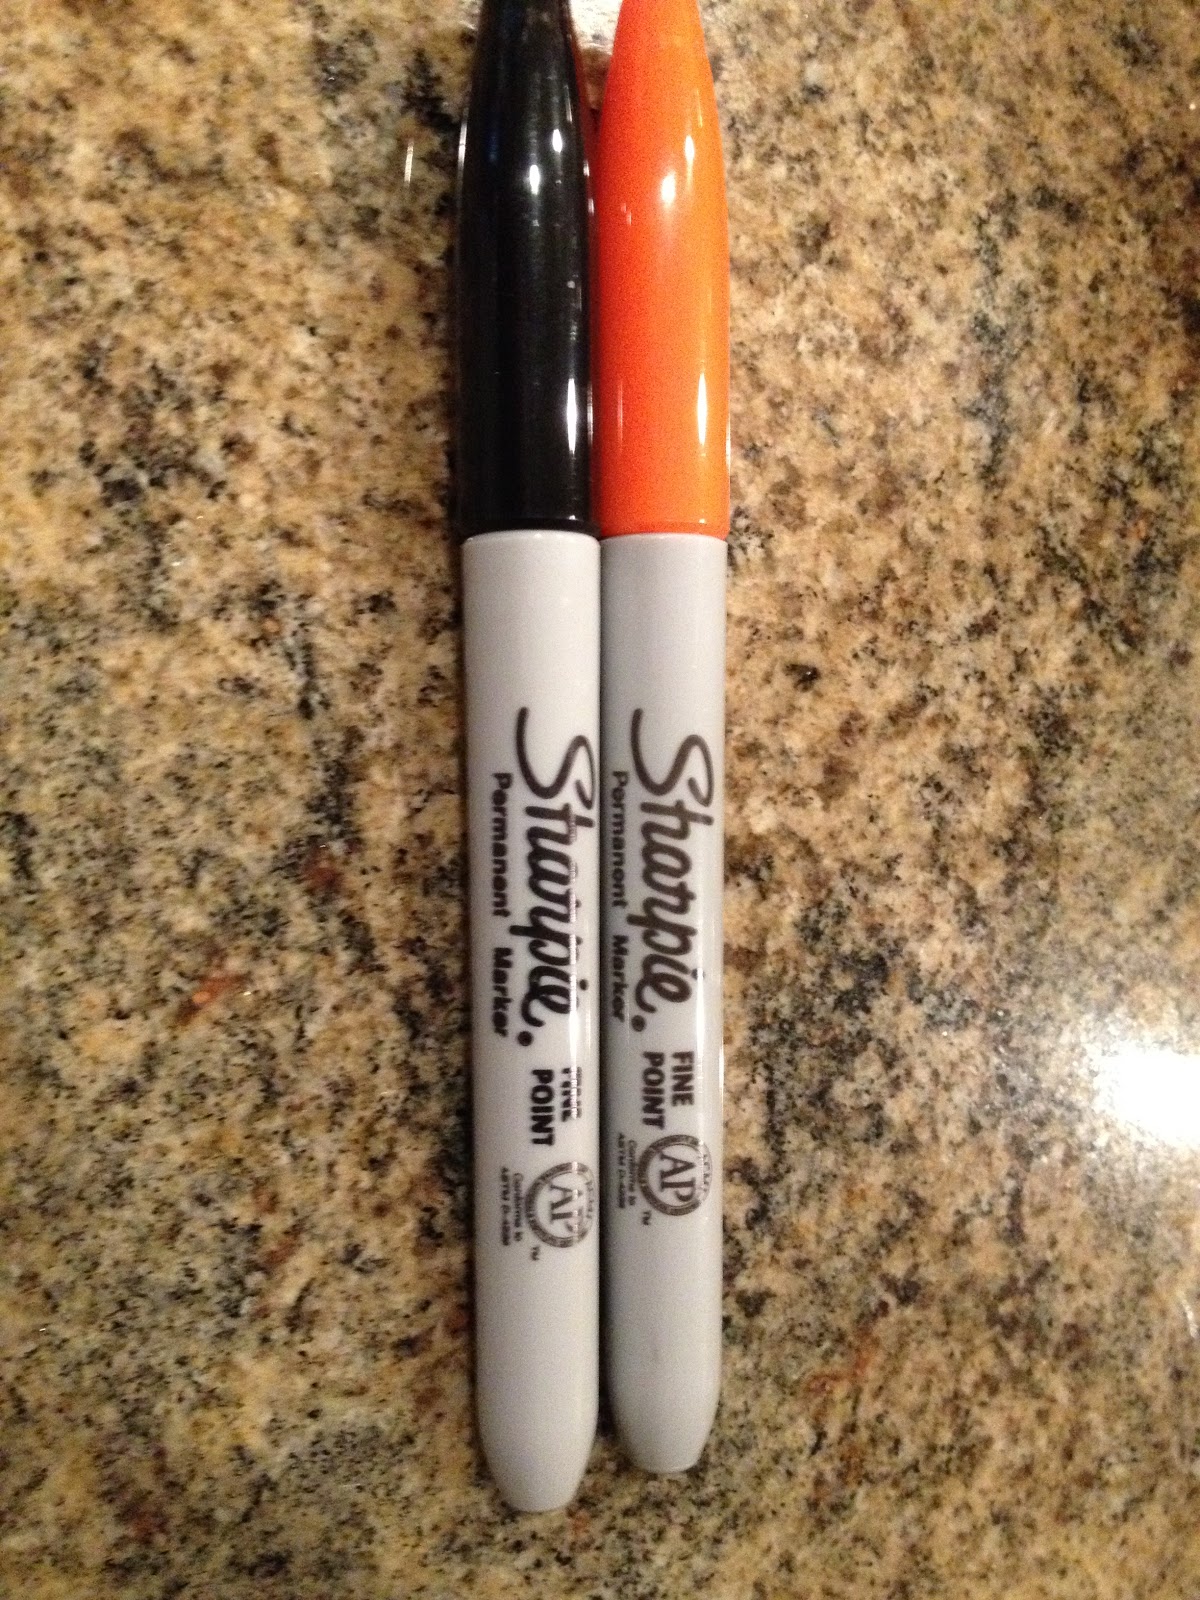
I used Sharpies and Paint Pens to draw and fill in my snowman, how does he look?
He's ADORABLE! Already had the ribbon (from the box project), the sharpies, paint pens and the frame, so cost of this project was about $2.00. Pretty cute and easy to do. 


Friday, May 8, 2015

Crafts and What Not

I'm trying to get the house done before summer and decided to spruce up some wreaths that I had in the garage.  They weren't in bad shape, they just needed to have the faded flowers removed and new ones glued on, I also added some new bows.  Just a couple of bucks and they look like new.

This wreath also gets flags put on to the right side to even it out.  I hang it every year on the front door for Memorial Day, Flag Day and July 4th.
 Took a plain grapevine wreath and added some sunflowers, lavender and a burlap bow for summer.
The yellow flowers on both of these wreaths were faded and dried out so I replaced them with new yellow flowers and made them look happy again.
 The hubby and I also made this pebble stone walkway between the deck and the shed that leads to the backyard.  It has been a thorn in my side since the shed was delivered about 9 years ago.  We needed the stepping stones in there because it's kind of damp and wet all the time.  You could not use the lawn mower to cut it, you had to use a weed whacker which always looked sloppy.  This year, yes after 9 years of trying to convince the hubby,  I FINALLY got the pebbles and re-set the pavers, looks so much better and no grass to worry about.  You can see how bad it was in the picture on the right.  First we layed weed preventing cloth, then staked it into place.  About 10 bags of pebbles ($3.29 each), the pavers I got 8 of them for $5 at a yard sale a couple of years ago and the weed preventing cloth was $1.00 for a whole roll on clearance, the walkway cost us about $39.00, not to bad to improve such a hard space, now it looks much nicer and neater.


Wednesday, October 8, 2014

Crafty Snowmen

My youngest, who is in France for her Junior year of college, just informed me she is coming home for Christmas.  I am so happy, we were worried about the expense, but flights were relatively cheap for that time of year. I am so excited, I can hardly contain myself!  I thought I was not going to see her for a whole long year.  Now I can't wait to set eyes on her.  I was not even going to decorate for the holidays, but now I am ecstatic to do so.  She will walk into the house, when she comes home,  and it will scream "Welcome Home".  She is already planning her coming home meal too.  I have a lot of decorating to do, so to get in the mood for the upcoming Christmas season, I broke out some of my craft items and made some cute little snowmen ornaments, that can also be used as gift tags if you like.  I made some of these before (check out Crafty Crafter from 10/18/13 on this blog), these are a little different.

I set out a piece of foil, so nothing sticks to the counter top, and it also catches any messes.  I made a snowman stencil on my computer to use as a guide.  I recycle things in my house, so the cardboard I got from my cat food boxes, they layer these in between the cans of cat food, instead of throwing them out I save them and use them for crafts.  They are a perfect size for the snowmen, 7 1/2"  x  5 ", makes 2 snowmen cutouts.  I set the stencil on the cardboard and......
 Trace over it, then cut it out.  I also made little hats for snowmen.
 Two snowmen cutouts and two hats.  I also recycled old music books.  A few of my kids played a lot of different instruments so I have a lot of books.  I then trace the cardboard onto the music sheets. I traced these on the diagonal.
 I  used a pencil to trace them.  Use space on the music paper to your advantage to get more cuts out of one sheet.
 Two snowmen and hats ready to be glued together.
 I used a glue stick, but you can also use Mod Podge.   A popsicle stick run flat from end to end, helps the paper adhere to the cardboard.
 Two glued together.
 So when I am out and about and I see little inexpensive things like this, I pick them up.  This is a whole pack of 8 colored extra fine glitter for $4.99 at Marshall's.
 This is another pack of 5 colored extra fine glitter that I found on clearance for $1.00 at Marshall's
I used the glue stick and the black glitter for the hats.  I used a piece of waxed paper to catch excess glitter, so I could put it back into the tube, no waste that way.
 Hats covered in glitter, and I found snowman face rub ons at Michael's for the snowmen.  Just cut them out and rub on the snowmen, or you can draw the faces on. 
 Faces on, I then used the glue stick to cover the front of the snowmen, then sprinkled iridescent white glitter all over them so they glisten.  I used scrapbook paper for the scarves and glued them on.
 Embellished the scarves with sequins and used thin wired tinsel garland to embellish the hat and for the hanger.  I glued the hanger on with a glue gun.  I then cut the bottom of the scarf with decorative scissors to make it look like fringe.
 Cute little faces.......
Ready to be hung on the tree.  This is last year's Christmas tree, and yes it is a real tree, perfect 15 feet of the best smelling Fraser Fir!  All decorated in snowman.