Tuesday, February 23, 2021

The Sprouted Wheat Loaves - Organic/Vegan

Back in the kitchen again after a few days off and threw myself into perfecting organic/vegan bread baking.  When you're not used to baking this kind of bread sometimes its hard to master.  Taking a regular bread recipe and changing it, to use not so much organic ingredients but vegan ingredients, can be a challenge in itself if you are not used to baking this way.  A lot of recipes I have call for milk in them, this one thankfully did not.  Using a vegan milk such as soy, coconut or almond can change the way the bread bakes.  It may not be a high loaf, sometimes it caves in the middle, or it may become to dense and doughy, like I said, a challenge.  

I found this old recipe I had tucked away for a few years, I switched out all the regular ingredients and used organic and/or vegan.  The secret to it's height, I added a dough conditioner/improver to the mix that I found on the King Arthur Baking website that's made from soy.  It worked wonderfully, my loaves had a great rise to them and were very light. No dense heavy bread this time, which is the way we like them around here, and great for sandwich making and toasting. 

Recipe Below.

Perfect high rise
Two lovely loaves
Great shape for sammies!
Nice and brown, the way bread should be.
Perfect inside and out.

Organic Sprouted Whole Wheat Bread

Ingredients
2 cups warm water (110 degrees F)
1 tablespoon active dry yeast (I used Red Star)
1/3 cup organic honey
2 Cups Organic Sprouted Whole Wheat Flour (I used One Degree)
1 teaspoon of table salt
1/3 cup canola oil
5 Cups Organic all-purpose flour (I used Bob's Red Mill Organic Unbleached White Flour)
7 teaspoons whole grain bread improver (I used KAB)

Instructions
In the bowl of a mixer, dissolve the yeast in the warm water.  Add the honey and stir until dissolved. Whisk the whole wheat flour together with the salt.  Add to the mixer bowl along with oil.  Attach your dough hook and mix on medium speed until all is combined.  Whisk together the all-purpose flour and the improver.  With mixer on medium speed, gradually add the white flour mix until all is combined, scrape bowl as you go along. Mix until a rough dough ball forms. 

Turn the dough out on to a lightly flour surface and knead for 10 minutes.  When the dough is smooth and somewhat elastic, form into a smooth ball with seams tucked under, place in a well oiled bowl, turning to coat it on all sides.  Place the ball smooth side up seam side down and cover with a damp towel.  Let it rise in a warm place until double in size, about 45-60 minutes.
I put mine in my oven with just the oven light on- DO NOT TURN YOUR OVEN ON!

Punch the dough down, shape it into 2 even loaves (I weighed mine) and place in two well greased 9 x 5 inch loaf pans, lightly cover with plastic wrap. Allow them to rise until the dough is 1 to 1 1/2 inches above the rim of the pans.

Preheat oven to 375 degrees.  Place in the oven and bake for 25-30 minutes or until golden brown.  Remember all ovens are different temperature wise.  The loaves should have an internal temperature of  190 degrees when fully baked.  Remove pans from oven.  Let the loaves rest in the pan for 5 minutes, pop them out of the pan on to a baking rack and turn top side up.  Cool completely.  Makes 2 loaves.


Monday, February 22, 2021

Be My Valentine!

I made some sweet treats for Valentine's Day, cookies and cake pops.  These were for my grand kids,
  the dinosaurs were for my grandson.
 LOVE them all to the moon and back!
Lots of hearts, lots of love.
With a T-Rex and Stegosaurus for some ROARS!
Packaged up for my lovies!
The cake pops were easy to make and decorate.
HAPPY VALENTINE'S DAY!
💝💞💟💖💘💗💕


Wednesday, February 10, 2021

Delicious Sourdough Biscuits

 I've gotten myself into a lot of bread baking lately and I really enjoy it.  It's relaxing to me, just me in the kitchen all by myself  and I'm lovin' it!  It all kind of started with figuring out organic vegan bread recipes for my son and then I moved on to regular bread baking, once I mastered the vegan side of bread baking. My sister even jumped on the wagon of homemade bread baking because she needed gluten free breads. I am now making my own homemade split top hot dog buns, because the hubby has a love for them.  
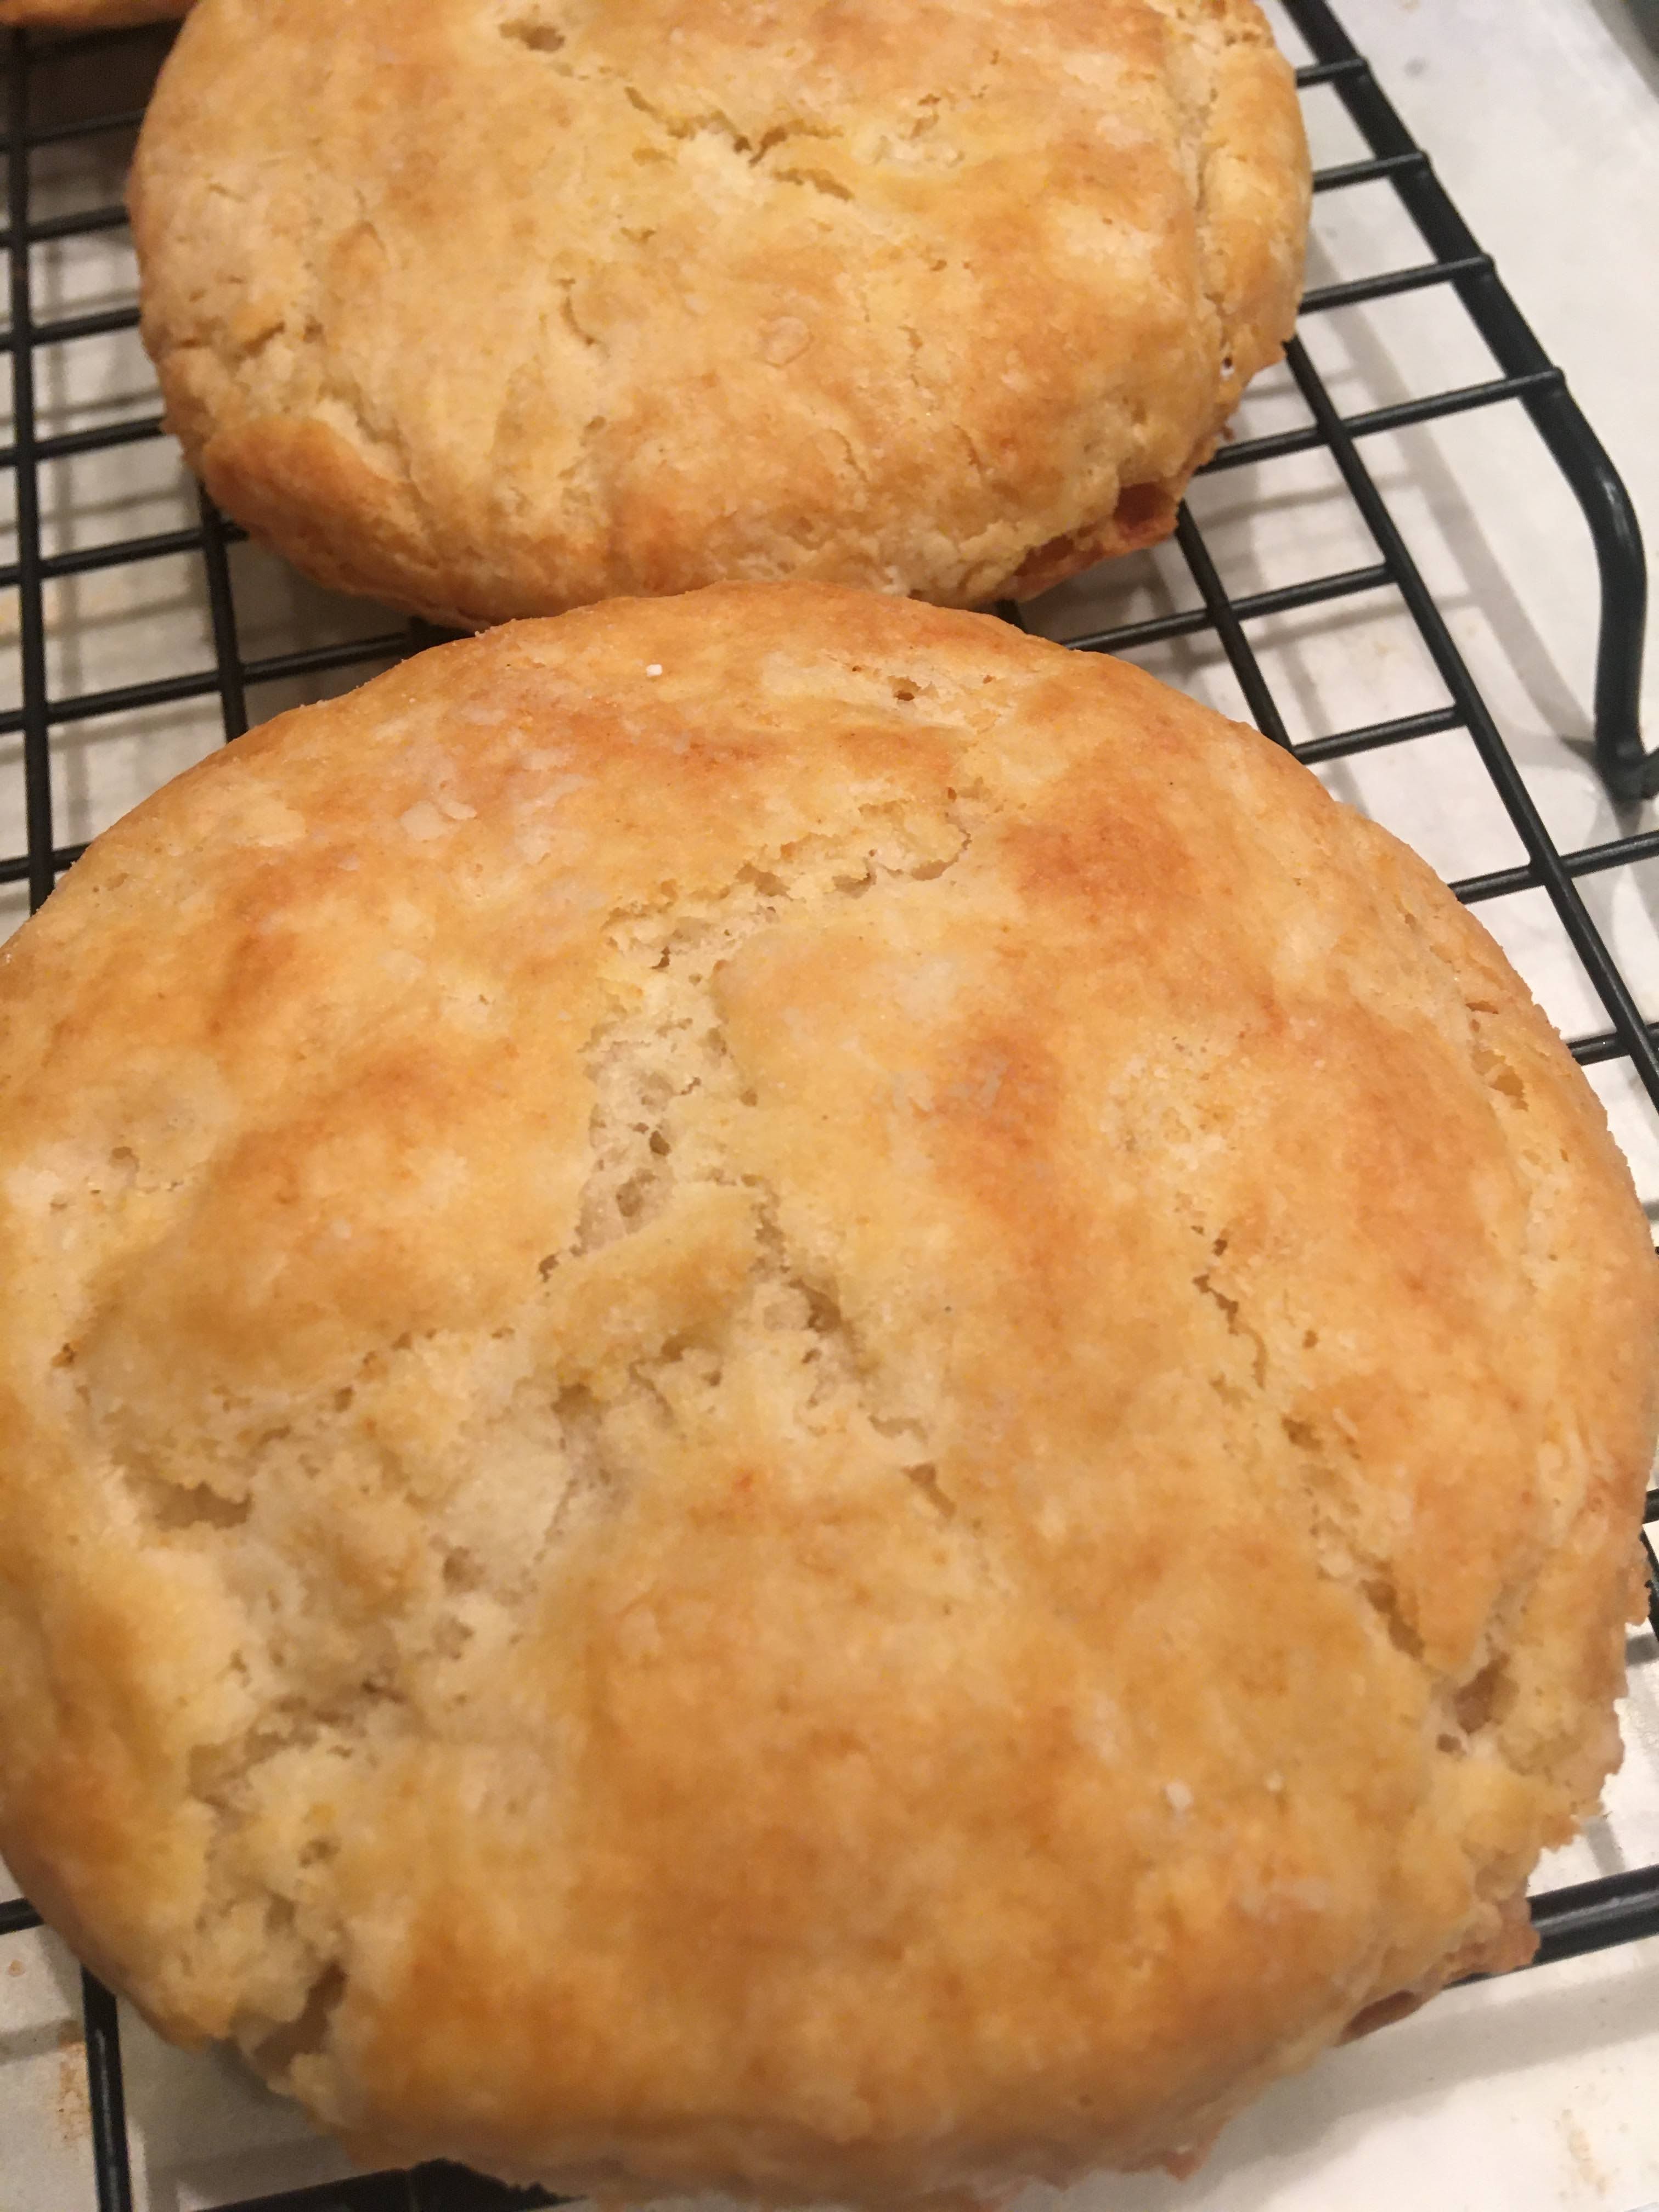
Today I made a comfort meal for dinner of meatloaf, mashed potatoes with gravy and corn for dinner and thought hmmmm..... biscuits would be good with our meal, so into the kitchen I went and got to work.  I made my biscuits from a sourdough starter discard, I always have a crock of that in the fridge. You have to feed the sourdough starter and that requires you to discard some of the dough every time you have to feed it.  I don't throw it out, it's still useful, so I save it in a small crock and make breads, pancakes, waffles, biscuits and rolls with it.  There are a lot of recipes out there for it's use, these are a few of the things that I use it for.  I have to say these biscuits turned out great!  They have a crispy buttery outside texture and are soft and fluffy inside. Just a few ingredients and one bowl to make them, no mixer involved.  I made mine rather large, next time I think I'll make them smaller.  I slathered butter all over the top when we ate them for dinner, and I think the leftovers are going to be great for breakfast with some butter and jam spread on them. I can't wait until morning to have those!
Recipe Below.
Mixin' them up.  That's my crock of sourdough in the back.
Flatten out the dough with your hands, the best tool in your kitchen and cut the biscuits out.
I cut mine with a glass, my biscuit cutter was packed away with my cookie cutters.
Light and fluffy pillows of dough and if you look closely you can see the butter in the dough.
Oh my, oh my they're so good!  They would even be great made into mini strawberry (or any other fruit) shortcakes and some homemade whipped cream or a breakfast sandwich too, the possibilities are endless. 

Sourdough Biscuits
Ingredients
1 cup of flour
2 teaspoons baking powder
1/2 teaspoon salt
1 stick of cold butter, cut into pieces
1 cup sourdough starter discard

Directions
Preheat oven to 425 degrees. Line a baking sheet with parchment paper and set aside.

Whisk together the flour, baking powder and salt in a bowl.  Work the butter in with a pastry blender until small crumbly balls of dough start to form.

Add the sourdough discard and mix it gently until it forms a messy dough ball.  Turn it out onto a floured surface and pat it gently into a 6 inch by 1 inch thick  round.  With a biscuit cutter, cut out 4 biscuits as close together as you can.  With the remaining dough, pat out and cut 2 more biscuits.

Place the biscuits on the baking sheet 2 inches apart.  Bake the biscuits for 20-22 minutes or until golden brown.
 
Remove from oven and serve warm, or cool on a cooling rack then store in a plastic bag at room temperature, you can also freeze them.


Thursday, January 28, 2021

Old Fashion Comfort Meal - Homemade Chicken Croquettes

I had a hankering for some old fashion food that I remember eating as a kid.  Chicken Croquettes were so good, the croquette itself was delicious alongside the puddle of mashed potatoes and gravy.  This was restaurant food usually, and you could also get the meal with gravy fries which were the best!  My mom never made these from scratch, but there was a frozen version that came with cups of gravy sold in grocery stores.  My mother did buy those and they were a great substitute for homemade.

I wasn't busy at home and decided I would try and make them myself.  If they didn't turn out right, I could just call them something else.  The flavors in them I tried to remember so I would get it right, and the technique for getting them to look like a croquette I mastered.  They were always a conical shape, although nowadays I see them as flat pancake style, THAT is not a croquette that I remember.  So here goes my version of  The Chicken Croquette. 
Recipe Below.
I used ground chicken, this worked perfect.
I cooked it up.  Then I cut up the celery and put in a small food chopper so the pieces were cut small or minced.
These ingredients I used for my chicken base.
The base, cooking up those tasty ingredients.  Kind of looks like mashed potatoes.
Fold in the cooked ground chicken and you can see it looks like the inside of the croquettes.
Mold into a conical shape. I lined mine up on a parchment covered baking sheet.
Give them an egg bath and dip in flour and then bread crumbs to get that crispy outside coat on them when you fry them.
Here they are coated in egg and flour. Then you have to dip in egg again and then the bread crumbs.
Into the deep fryer until golden brown all over.
Drain on paper towels.  Looking scrumptious!
OOOOH, now for the gravy. You have to have gravy, its for the mashed potatoes, or if you like, French fries.
Plate them up on a cloud of fluffy mashed potatoes or fries, top with that awesome gravy and dig in!
Chicken Croquettes

Ingredients for the croquette base
1 1/4 lbs of ground chicken meat (I used Perdue in the bag)
1 cup of whole milk
1 cup chicken stock
1/2 teaspoon salt
1/2 teaspoon ground white pepper
2 teaspoons parsley flakes, could also use fresh
1 stick of butter
1 stalk of celery, minced small
1 cup flour
oil for frying

Coating for the croquettes
1 cup of milk
2 large eggs
1 1/2 cups flour
1 1/2 cups bread crumbs, can use plain or seasoned

Chicken Gravy
1/4 cup butter
1/3 cup flour
1/4 teaspoon salt
1/8 teaspoon white pepper
2 1/4 cups chicken stock
1 1/2 teaspoons parsley flakes or fresh parsley


Directions
For the croquette base:
In a medium frying pan on medium-high heat brown the ground chicken.  Chop and separate as you cook it, until there is no pink color remaining and it looks like it's minced very small.  Set aside. 

In a large pot, heat the milk and stock over medium heat.  Add the salt, pepper, and parsley. In another pot, melt butter and add the celery.  Cook until celery soft.  Add the flour and cook for three minutes. Pour the milk/stock mixture over the flour mixture and whisk until it thickens and becomes smooth. Fold in the ground chicken.

Breading the croquettes:
Mold the mixture with your hands into conical shapes and place on a parchment lined baking sheet. Beat the milk and eggs together in a bowl.  In another bowl place the flour and in a third bowl place the bread crumbs.  Dip the croquettes one by one into the egg mixture, then the flour mixture.  Let them sit for a few minutes then dip in the egg mixture again then the breadcrumbs. Line back up on the baking sheet.

Frying the croquettes:
You can use a deep fryer or a large pot.  Heat oil to 350 degrees.  Place two croquettes at a time in the basket and lower into the oil.  Cook for 3-4 minutes or until golden brown on all sides and top and bottom.  Remove from basket and drain on paper towels.

Croquette Gravy:
Melt butter in a medium size saucepan over medium heat, stir in the flour, salt and pepper.  Whisk in the stock until the gravy is smooth.  Add the parsley.  Bring it to a boil, then reduce the heat and cook for 15-20 minutes.

Serve croquettes on a bed of mashed potatoes and top with gravy.


Wednesday, January 27, 2021

Buckeye Brownie Bowls

It all started with this pan, a brownie bowl pan. I loved the shape of it and I knew I could bake many things from it.  Lemon cakes filled with a chiffon lemon cream and fresh raspberries, strawberry cakes, chocolate and vanilla cakes filled with a variety of things. You could also fill your cakes or brownies with just fresh whipped cream and fruit or make and ice cream brownie sundae out of them, it really does have a lot of uses.  Almost any batter could be baked in this versatile pan.  I chose to make brownie bowls in my pan, but not just plain brownie bowls, Buckeye Brownie Bowls, filled with a fluffy peanut butter center and topped with hot fudge sauce and sprinkled with chopped peanuts. It was easy and they were so delicious!

The pan has six inverted bottom cups in it.
This is the underside/bottom of the pan.
I was in a hurry so I used this box mix.  I used the amounts of ingredients called for to mix the batter, but I don't follow directions, I put the packet of fudge in the mix instead of on top, I'm crazy like that.  I sprayed the pan wells with cooking spray before I baked them.  Bake at 350 degrees for about 20 minutes or until the tops spring back when touched.
The amazing, fluffy, peanut butter filling needs just a few ingredients you probably already have in the pantry.
I used 2 cups of 10X sugar, 3/4 cup of creamy JIF peanut butter, 1 1/2 teaspoons of vanilla and about 1/3 cup of milk.  If the mixture is too thick add a little milk at a time to make it more smooth and fluffy.  If it becomes to loose add a little more 10X sugar.
It's so creamy and fluffy, I love peanut butter!
The brownie bowls came out perfect
Nice deep wells, just waiting for that creamy fluffy peanut butter.
To fill brownie bowl.....
add peanut butter filling.....
hot fudge sauce.....
and top with chopped peanuts. And there you have Buckeye Brownie Bowls ready to eat and they were wonderful!