Showing posts with label honey. Show all posts

Tuesday, October 27, 2015

Sweet Little Piggies

You know those little cocktail wieners, well they are kind of a staple in our house, especially during the holidays.  I can have a whole elegant spread of food, and then I have to make those.  Everybody loves them.  All I do is wrap them in crescent dough, bake and set out ketchup and mustard for them.  Why they are such a hit, I don't know.  I found a new way of making them, someone on my old job made them for a party and I couldn't stop eating them.  I asked her for the recipe, you won't be disappointed. The ingredients are an odd combination, and you wouldn't think they would be good together, but surprisingly they are.  Who knew a little beef frank could taste good!
Recipe below.
To print recipe, click, highlight and print.
To view photos in a larger format, click on them.

So this is a package of those little beef franks, there are about 35 of them in a package, give or take.  Some of the ingredients I used, walnuts, honey, butter and brown sugar, that combo alone is good!
Melt the walnuts, honey, butter and brown sugar, this makes the sauce.
 After it melts, pour into the bottom of a 9 x 13 baking dish, layer the crescent rolled franks in a single layer.  Bake them, and the sauce becomes this thick, gooey, sweet sensation that sticks to the little wieners, it's awesome!  Now, I didn't get a picture after they were baked, they looked so yummy, because I had take them to a friend's get together and wanted to serve them hot. Trust me they were good, I had the hostess ask me for the recipe!
Sweet Little Piggies In Blankets

Ingredients
1 stick butter
1/2 cup chopped walnuts or pecans
3 tablespoons honey
3 tablespoons dark brown sugar
1 tube refrigerated crescent dough
1 package little wieners

Directions
Preheat oven to 400 degrees.  In a small sauce pan, combine the butter, walnuts, honey and brown sugar, stir together as it starts to melt.

Meanwhile, unroll the crescent dough and pinch seams so they stay together.  You should have a large rectangle of dough.  Start cutting the dough in strips on the short end, until you have enough for all the wieners in the package.  Roll each wiener in a piece of the dough.

When the butter mixture has melted pour into a 9 x 13 baking dish and spread it evenly.  Line the wieners seam side of dough down, on top of the butter mixture.  Bake uncovered for 15 - 20 minutes or until the crescent dough is golden brown and the mixture is bubbly.  Be careful not to burn them, as always all oven temperatures are different.


Sunday, September 20, 2015

So, I Took A Butternut Squash......

......and made Roasted Butternut Squash with it.  Butternut squash has a flavor similar to pumpkin, has a yellow-orange skin and orange flesh inside.  To make it though, I took the lazy way out, and purchased my squash already peeled and seeded, so all I had to do was cut it to prepare it.  Butternut squash is a good source of fiber, vitamins A, C and E, magnesium and potassium.  What that means is, it's good for you.

To have it as a side dish, I had to make it so my family would eat it, so I decided to make a sweet version of it.  I have served it before, roasted with other vegetables and herbs as a savory side dish, that was also very tasty (check it out on this blog 3/13/14).  I was serving a pork roast the other night, so what a better side dish than roasted butternut squash with honey and cinnamon.  It was fabulous!  

Recipe Below.
To print, recipe, click on it highlight and print.
To view pictures in a larger format click on them.

On to a cutting board and cut them in half.  You need a sharp knife, but be very careful, keep your fingers away from the blade, because they are a little difficult to cut.
 Then cut into bite size chunks and drizzle with olive oil.  My roasting sauce was cinnamon and honey.
 Wow, it's looks amazing already!
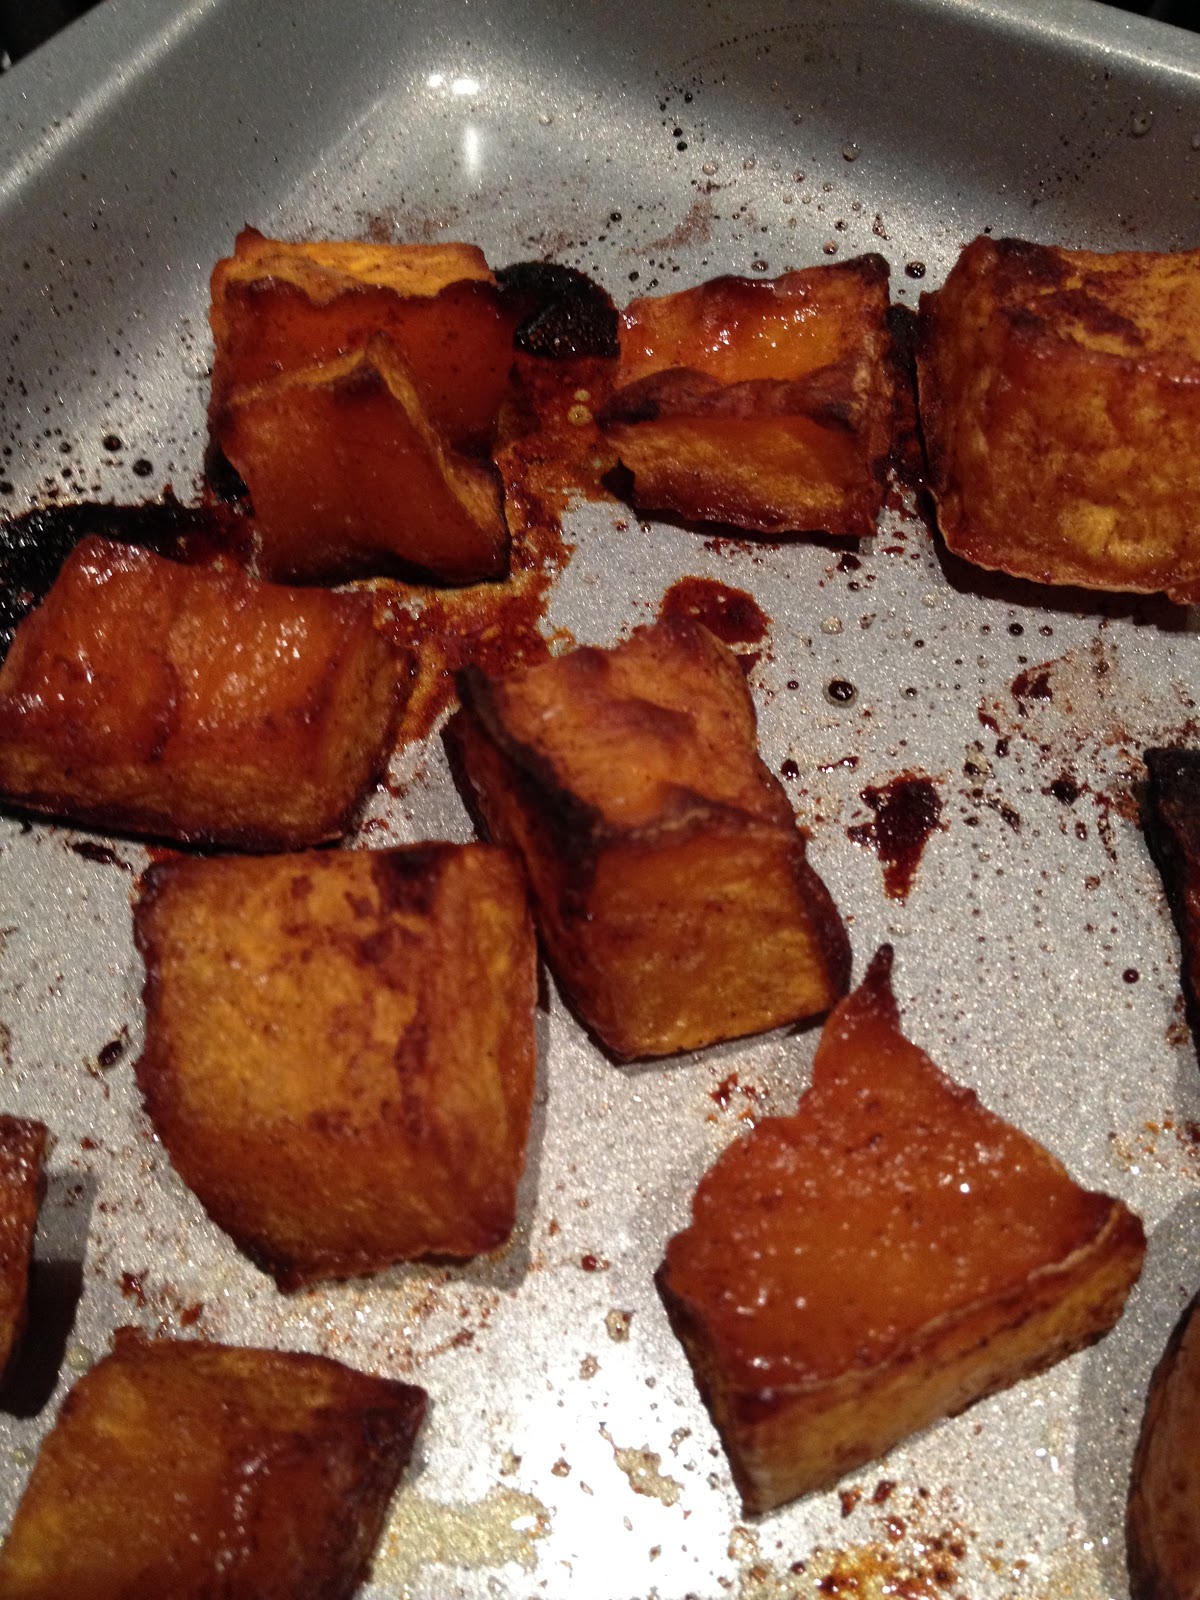
 Roast in the oven for 35 - 40 minutes.
It's so scrumptious it's like a dessert!

Roasted Butternut Squash

Ingredients
1 whole butternut squash, peeled and seeded
1 tablespoon extra virgin olive oil
2 tablespoons honey
1 teaspoon ground cinnamon

Directions
Preheat oven to 400 degrees.  Cut the squash into bite size chunks and put onto a baking sheet.  Toss with the olive oil to coat.  Drizzle the honey on the squash and then sprinkle with cinnamon.  Roast for 35-40 minutes in the oven and as always, all ovens are different. Toss once during roasting time. The squash is done when it is tender in the middle and lightly browned on the outside.  Makes 4 servings.


Monday, June 22, 2015

I'm Giving You The Raspberries

What can I say about Summer fruit, it's the best.  It has the most wonderful flavor in the world. Sweet, juicy and there are so many things you can do with it.  Pies, jams, grill it, make a cake, frozen pops or salsas, I could go on and on of all the things you can do with Summer fruit.  I found some interesting berries that I have never seen before, yellow raspberries, and thought I would give them a try.  The color was vibrant, pretty, that's what drew my eye to them. I love color, as you all know, it keeps things interesting.
I made a fruit and lettuce salad with all my berries, if you have never tried this, please do, it's tastes great! I washed romaine lettuce and berries, (you can use any lettuces you want, a Spring mix and super lettuces like kale, chard and spinach are good too).  Chop the lettuce, slice the strawberries and then toss with blueberries, blackberries, red raspberries and yellow raspberries.
 Look how colorful! I also used matchstick carrots and cucumber.  It's all good for you food.  I made my favorite sweet/ tangy dressing for this salad - 1/4 cup apple cider vinegar, 1/4 cup red wine vinegar, 1/2 cup canola oil, 1/4 cup sugar (or other sweetener, agave or honey) 1/4 teaspoon paprika, 1 teaspoon sesame seeds and 1/4 teaspoon poppy seeds.  Shake it all together, drizzle some over the salad.


Friday, August 22, 2014

Paris Is Always A Great Idea!

My youngest is leaving for Paris, France next week, for her whole Junior year of college.  We are going to miss her, A LOT!  I thought it was bad enough sending her off to college her Freshman year.  She went to London that year for her first semester.   I was a mess, worrying how would she manage, shop for herself, cook for herself, learn the money system, the transportation system, school, as well as just being in a foreign country.  It was very scary for me, not her though, she mastered all of it.   I grew many gray hairs that year,  now I will have to buy stock in one of the hair color companies!   A year is a long time not to see her.  She will be there for all the holidays too, we won't see her until May 2015.  She does not speak French, has to learn another money and transportation system, school will be another challenge for her.  She is very bright (not just a mom saying her kid is bright) she really is smart.  Took college courses in her senior year of high school, always on the honor roll since elementary school.  She also can hold her own in a group of seasoned adults when having conversations about politics, religion or any other subject you throw at her.  I am sad about her leaving, but also glad for her, she earned it with all her hard work through many years of school, and she deserves it because she is a good kid, never any trouble.  I had many sleepless nights these past few months, but time's running out for me to worry, she is leaving and that's that.  I will see and talk to her via social media, I am grateful for that, and I am sure she is going to have the time of her life!

In honor of her leaving, we decided to have a small gathering (a going away party, but sure to return!) of her friends and family for a night of everything French.  French food, decorations, music and wine.  One of the first things I made was a dessert, Madeleine's, and they were so easy to make.  Madeleine's are little cake/cookies.  Recipe below.

What you  need: Flour, sugar, baking powder, butter, eggs, honey, salt, lemon and lemon extract and confectioners sugar.  You also need a Madeleine pan, they are not very expensive, and trust me after making these, you WILL make them again.
 Some equipment you will need and butter melting in the pan.
Butter is melted and adding the honey.
Lemon zest and pure Lemon Extract.  My Madeleine's were lemon flavored, you can make them whatever flavor you like.  My dry ingredients mixed together.
Mixing in the wet ingredients and generously spray that pan.
 The batter will be on the bubbly side.  Refrigerate for 2 hours.
 I used a flatware tablespoon to fill my pan, it almost has the same shape and size as the pan.  The batter went in with no mess.
 Baking in the oven and getting brown around the edges.  Sprung from the pan and cooling on a rack.  The bottom of them are plain....
 When turned on the right side they have a shell shape.
 
 Dust with confectioner's sugar and serve.
 LEMON MADELEINE'S

Ingredients
Cooking Spray
7 tablespoons of butter
1 tablespoon of honey
3/4 cup of unbleached flour
1/2 cup of sugar
1 teaspoon of baking powder
1/2 teaspoon of salt
3 eggs, room temperature, beaten
Zest of a lemon
1 teaspoon of pure Lemon Extract
Confectioner's sugar for dusting

Directions
In a small saucepan, melt the butter.  When butter has melted add the honey and stir until honey has melted. In a medium bowl with a whisk, mix the flour, sugar, baking powder and salt until combined.  With a hand mixer on low, add the eggs, lemon zest, lemon extract and the butter mixture.  Cover the batter with plastic wrap and let sit in the refrigerator for 2 hours.

Preheat oven to 375 degrees.  Spray Madeleine baking pan with cooking spray.  Spoon batter until 2/3 full into the wells.  Bake until brown around the edges and cake springs back when touched, about 6 - 8 minutes. Remove from oven and shake them out of the pan onto a cooling rack, they have to be removed from the pan ASAP or they will stick.  Dust with confectioner's sugar and serve, or store in an airtight container for up to 2 days, then dust with confectioner's sugar before serving.  Makes 18 large Madeleine's.


Sunday, August 3, 2014

Asian Inspired Finger Licking Good Chicken Thighs

I don't usually buy chicken with bones in it, my kids don't like it.  I grew up on bone-in chicken parts, it doesn't bother me.  So, I cook and if they don't like it I better not hear complaints!
  Bone-in chicken gives it flavor, makes the meat juicier.  I wanted to make something out of my chicken thighs that would call them to the table just by the aroma of  them cooking, and I did!  This is how I made my Asian Inspired Chicken Thighs.

First up -  1/4 cup honey, 1/2 cup soy sauce, 1/4 orange marmalade.  Mix together with a whisk until combined.
Second - Wash chicken thighs and pat dry with paper towels.  Coat in the soy sauce mixture.
 Third - Preheat oven to 350 degrees.  Line a baking sheet with parchment paper or foil, so the sauce doesn't stick to the pan.  Bake for 1 hour, basting in between with the soy sauce mixture.
 Fourth - Under the broiler for about 5 - 8 minutes until crispy and browned.  Sit back and enjoy these delicious, sweet and sticky pieces of pure joy!


Saturday, February 15, 2014

Grab The Butter and Jam - Homemade Wheat Bread

For the love of bread!  And I do love bread, I actually think I could live on it.  Since my son is on this crazy vegetarian way of eating, he is making all kinds of homemade things, granola, granola bars, vegetarian wraps, raw sweet potato snack bars, you get the picture.  He has been hounding me to make homemade wheat bread.  I said to him,"you work in an Italian bakery, bread doesn't get any better than that!".  And,  he's still nagging me to make the wheat bread.  So, I go and dig out the bread machine, dust it off, and make it from scratch.  It was wonderful, for a few hours the house smelled great! I couldn't wait to cut it, but I knew I had to control myself, you know the carbs are not good for me.  Recipe below.

My ingredients all lined up and ready for the bucket.
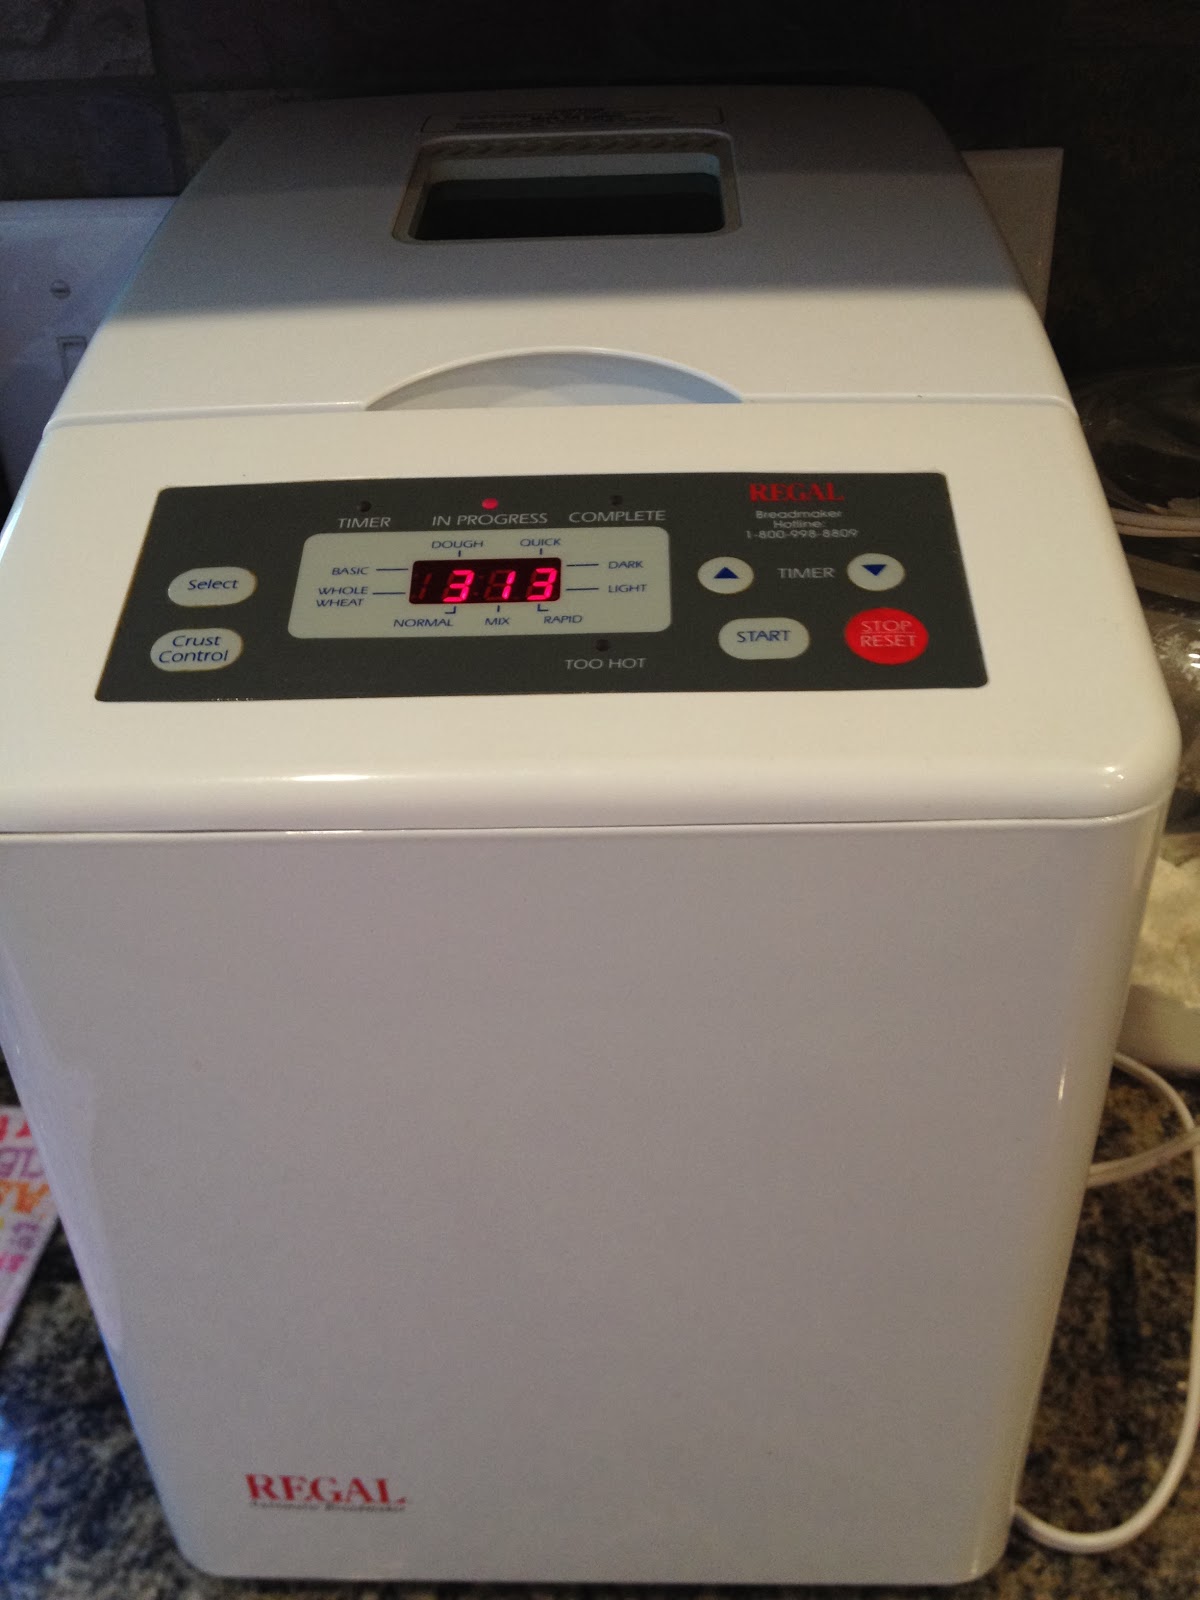
 add all to the bucket, push a button, and something fantastic happens, BREAD! It's like a magic box.
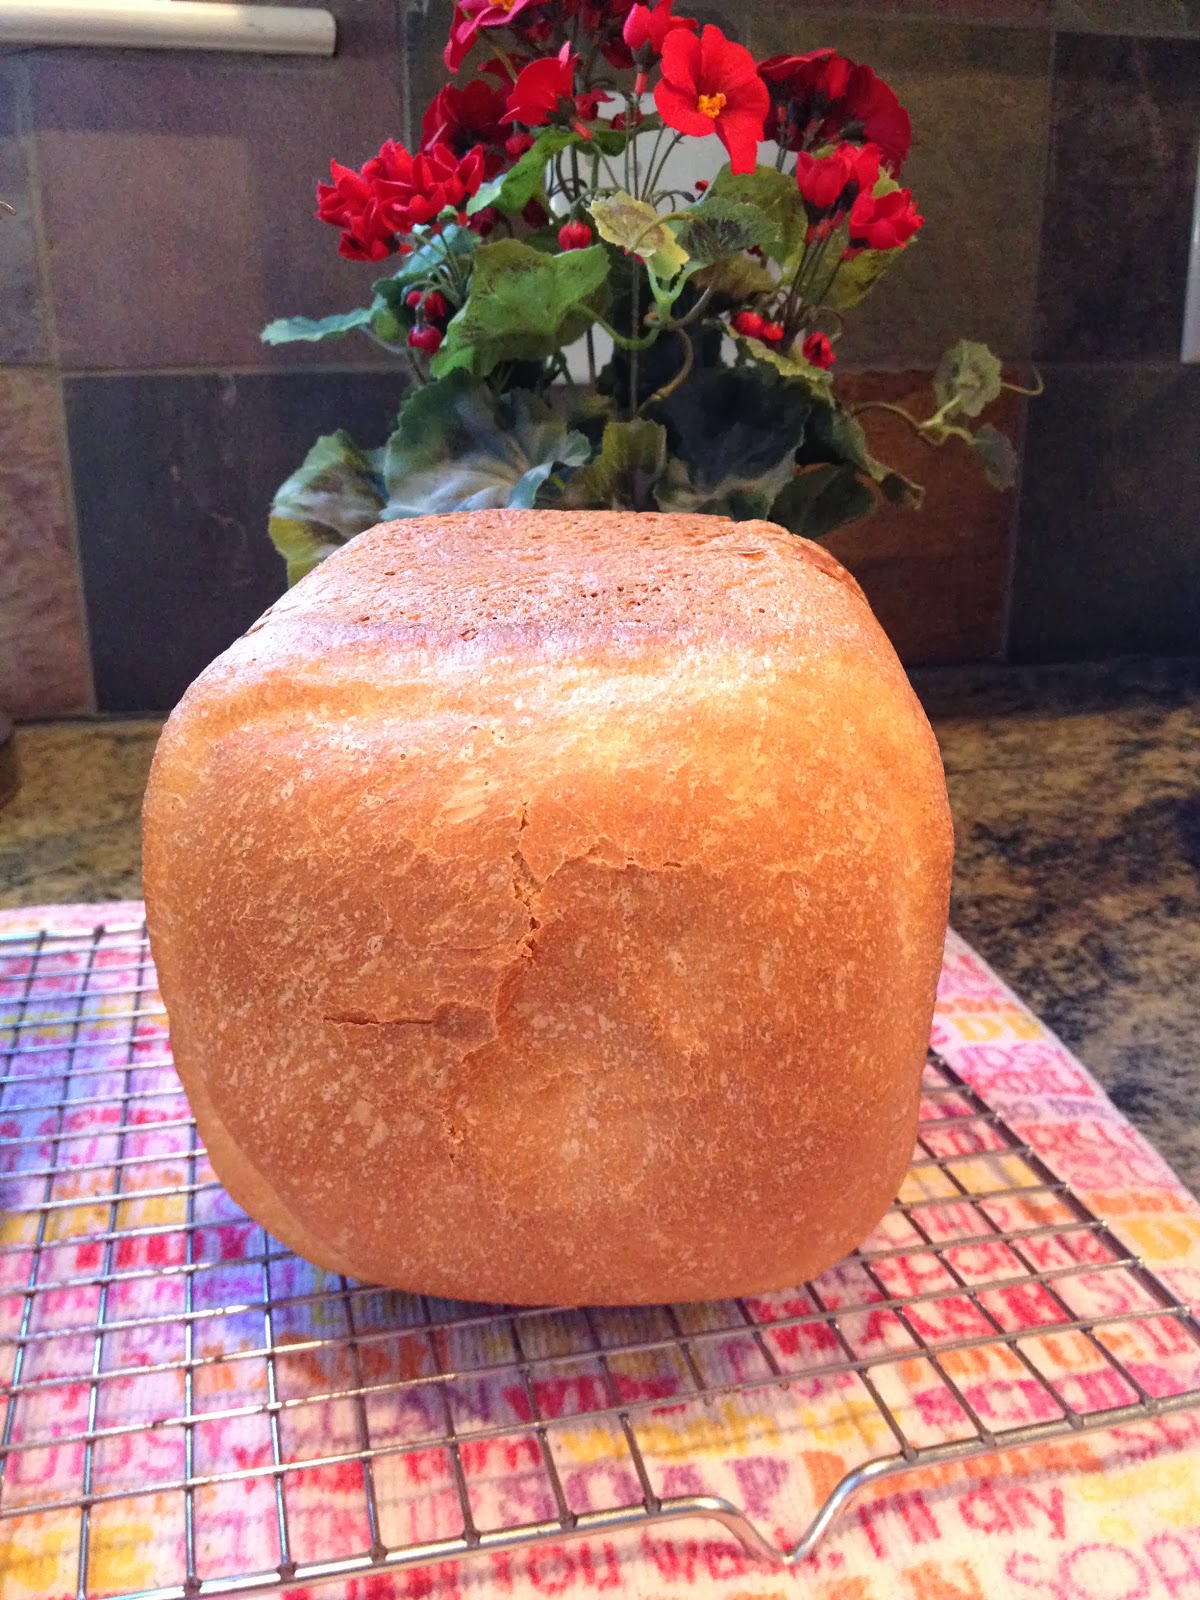
 After a little over three hours it's all done and ready to be sliced.
 Sliced it up and ready for sandwiches, toast or just to eat with some butter.  The texture is soft and it has a crispy crust.  Homemade bread is the best, and it was effortless to make.

Homemade Wheat Bread

INGREDIENTS
1/2 cup of warm milk, I used skim
1/2 cup of water 70 - 80 degrees
1 egg
3 tablespoons of clover honey
2 tablespoons of butter, at room temperature
1 1/2 teaspoons of kosher salt
2 cups of King Arthur Unbleached Bread Flour
1 cup of Whole Wheat Flour, I used Bob's Red Mill Organic Stone Ground
1 Package of Fleishmann's Active Rapid Rise Dry Yeast (2 1/4 teaspoons)

DIRECTIONS
In the bucket of the bread machine, place the milk, water, egg, honey and butter.  In a large bowl whisk together the salt, bread flour and wheat flour, then pour into the bucket.  Make a well in the flour and add the yeast in the middle of the well.  Select settings on your machine, choose your crust color and loaf size (1 1/2 lb loaf).  Turn the machine on and let it do the work.  Yields 1 loaf.