Tuesday, May 8, 2018

Lemony Roasted Chicken

So, I'm back in the kitchen again after a long break.  Trying out new recipes and foods is always fun for me.  The not so fun part is cooking for two people.  I never thought it would be hard, but after cooking for six people all through the years, it's hard to judge portions.
  Yes, they have all moved on but one, the vegan.  I don't cook for him anymore, just the hubby and I.  Now I have to strategically buy, plan and cook meals so there is no waste of food. Growing up I was told it was a sin to waste food, didn't understand it then, but totally understand it now.  We should all be so grateful, and not take for granted, that we have food on our tables everyday, as there are many who don't.
I found small roasted chickens on sale, so I bought two. One is in the freezer for a later meal, but I am using one today to make a Lemon Roasted Chicken. It's stuffed with garlic, lemon and rosemary and has a crispy butter, olive oil and fresh herb coating on the outside, yuuuuuum!
Recipe below.
To print recipe, click on it highlight and print.
To view photos in a larger format, click on them.

A few simple ingredients: Lemons, Butter, Olive Oil, salt, pepper, paprika, fresh garlic and rosemary.
 All mixed up in a bowl give this chicken the awesomeness that it has!
 My little chicken all stuffed with lemons, garlic and rosemary.  I pulled the skin up and pushed some fresh rosemary under it, added flavor.
 Trussed it up and slathered the lemon butter sauce all over the top.  Cover and bake.
Lemony Roasted Chicken

Ingredients
1 3-4 lb. roasting chicken
1 tablespoon olive oil
1/2 stick butter, melted
5 springs fresh rosemary, mince 2 of them, leave 3 whole
4 large cloves garlic, minced
zest from 2 large lemons, save, then juice, stuff cavity with remains of lemons
1 teaspoon salt
1/4 teaspoon pepper
1/2 teaspoon paprika
1/4 cup water

Directions
Preheat oven to 350 degrees.  Clean cavity then place whole chicken in a large roasting pan or Dutch oven.  In a medium bowl, mix the olive oil, melted butter, the minced rosemary, garlic, lemon zest, salt, pepper and paprika, set aside.  Lift the skin on the breast of the chicken and stuff each side with a sprig of rosemary.  Stuff the cavity of the chicken with the remains of the lemons and the last sprig of rosemary. Pour the olive oil/butter mixture over the top of the chicken, pour 1/4 water in bottom of baking pan.  Cover with foil and bake for 2 hours or until the juices run clear.  During the last 15 minutes of roasting time remove foil to brown the skin of the chicken.  Serve with your favorite sides. 


Monday, May 7, 2018

New Floor!

Oh my gosh I've been away for sooooo long!  A lot going on in my life this past year.  Found out I was going to be a first time grandmother (Nonna as I chose to be called)! SO excited for that, he was born in April and I am happy to say, he is the love of our family and so handsome.  In between all this exciting news, there was house hunting for his mommy and daddy, painting and decorating to be done at their new found house, then he arrived and all is balanced in life again, so happy for him and all of it!

Also, I have been a very busy Nonna at my own house.  I decided to finally get my family room floor done and remove the carpet in that room.  I couldn't be more thrilled with the way it turned out.  It made such a difference, and the match is just about perfect to the existing hardwood floor which was 13 years old. I did good by the old part of the hardwood floor by taking care of it, and in the end it paid off.

The old carpeted floor and the new hardwood floor, what a difference a day makes!
Tearing out the carpet and exposing the sub-flooring.
 Moisture barrier down, boards laid out across the floor and it's almost done.  The whole floor took about 8 hours worth of time to install.
 A few glitches that had to be fixed.
OK, so I'm really picky.  But hey, I paid a lot of money for this floor and it should be perfect, right?  The installer did good and fixed all those blue tape little problems I saw with my crazy eyes.  All was well in the end.
 He also left me a parting gift in case the kitties scratch my floor.  You would never know the cat scratched the floor after using this.  If you buy this, match it to the color of your floor, this color matched mine perfectly.


Monday, October 23, 2017

The Berry Boxes

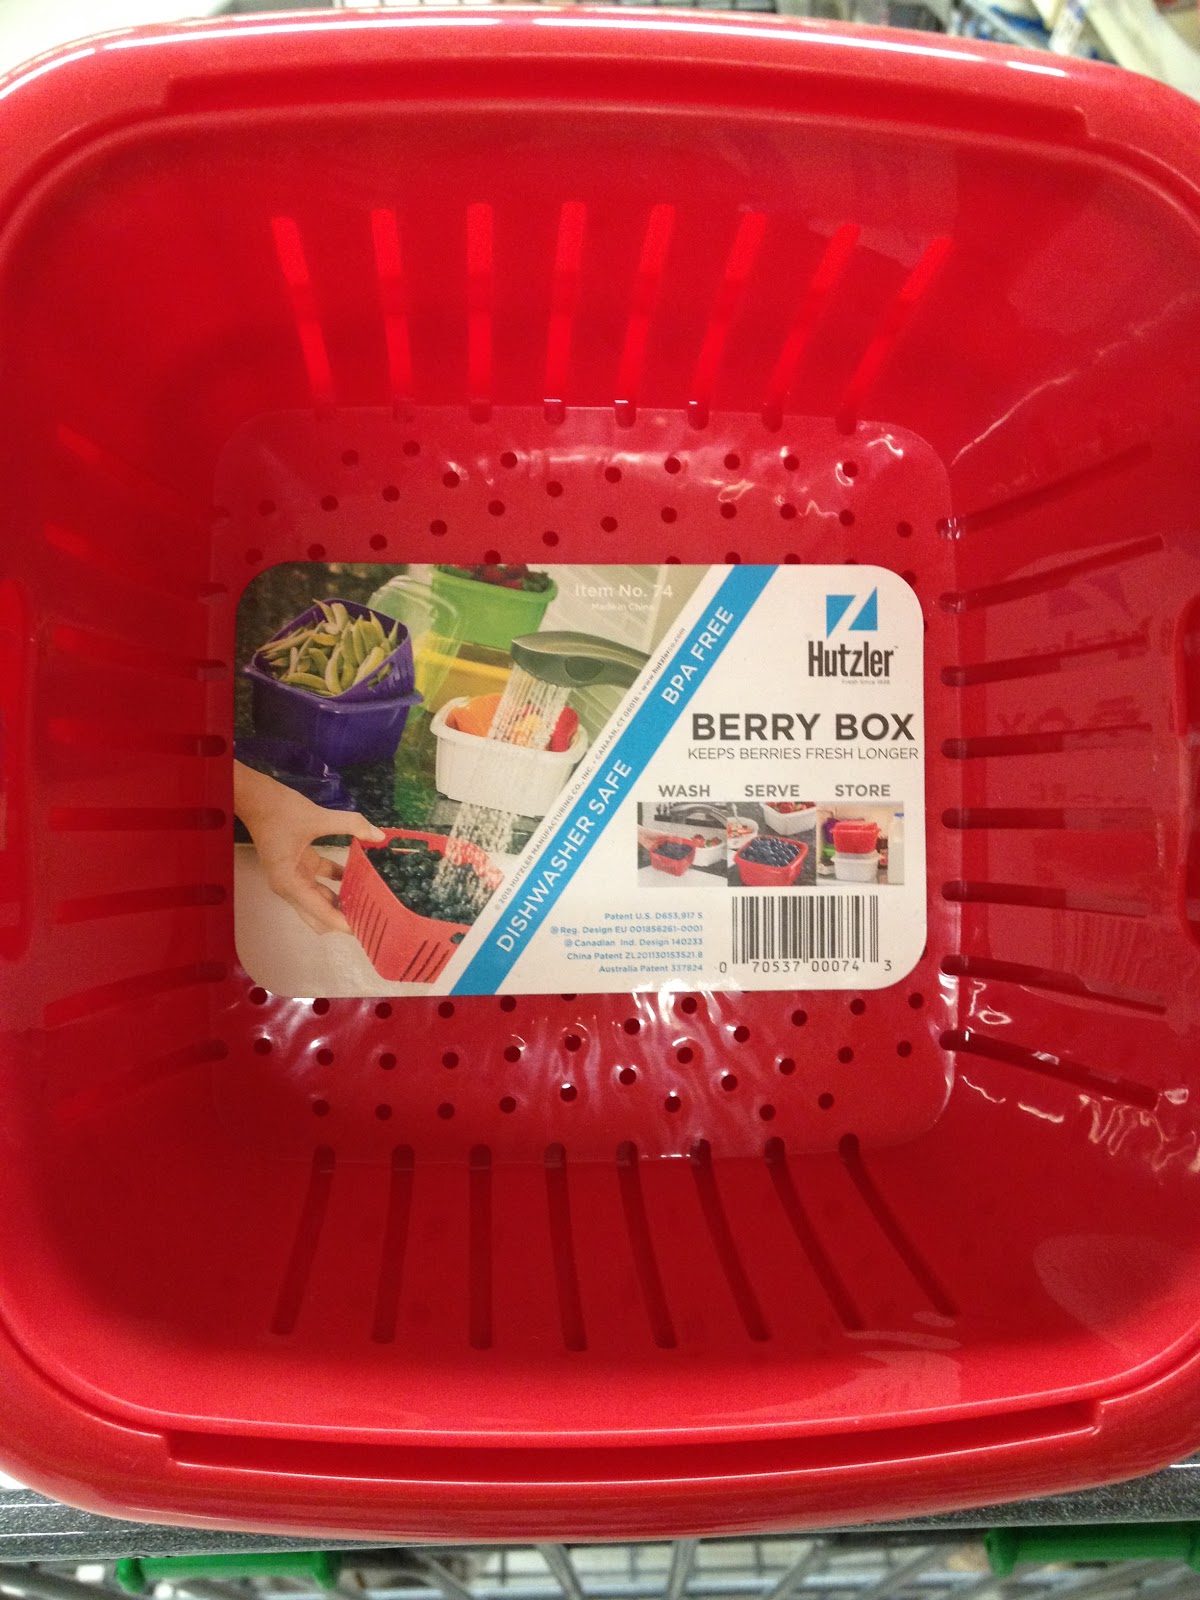
We are BIG berry eaters in my house, the fridge is always stocked with them.  Blueberries and blackberries are jam packed with antioxidants. Blueberries, blackberries and strawberries are  rich sources of fiber, potassium, vitamin C and are low in fat and calories. Funny thing about berries though is you have to keep them fresh and from drying out. On a trip to the grocery store, while I was in the produce section, I spotted these cool little baskets.  They were very inexpensive, considering the money I would be saving by not throwing berries in the trash can after having them for 2-3 days.  My berries are lasting about 2 weeks in these containers, that's a long life for fresh berries.  Check them out!

I found them in four different colors, red, green and yellow in the square size.  The boxes are BPA free and dishwasher safe.
 (I recommend top rack)
They are three compartment containers that come taped together.
They consist of a bottom container, a basket and a lid for storing the berries and keeping them fresh. Put your berries in the basket, rinse, drain excess water off, drop basket into the bottom container, put on the lid and "burp" it, store in the refrigerator.
Take the three pieces apart, and they go back together for storing your berries.
This purple container is the other size basket.  It's rectangle shape is perfect for storing strawberries.


Wednesday, October 18, 2017

So, So Good and Not Too Sweet!

I was home all day today, plumbers here fixing the house water system, so I was bored and pulled out a few recipes to bake.  I had the windows open, Fall crisp air blowing in, and the aroma of my sugar cookies and peanut butter bars filled the house. The sugar cookies, what can I say, they are the best darn sugar cookies I have tasted, they are amazing!  They're so easy to make and decorate for any season with your favorite sprinkles, a little soft in the middle, a little crispy on the outside, not sugary sweet and just delicious.  Serve them up with a glass of cold milk, coffee, tea or your Pumpkin Latte that's now in season.
Recipe Below
To print recipe, click, highlight and print.
To view photos in larger format, click on them.

I use all kinds of different Sprinkles/Jimmies for my cookies.  This mixed sanding sugar I just found at a local market, so I decided to use it.
 All ready to bake them off!
 Right out of the oven and yea I ate it!
 Soft Sugar Cookies
Ingredients
5 1/2 cups of unbleached white flour
1/2 teaspoon baking soda
1/2 teaspoon salt
1/2 teaspoon cream of tartar
1 cup softened butter (do not substitute)
3/4 cup canola/vegetable oil
1 1/4 cups of sugar
2 tablespoons water
2 teaspoons vanilla
2 eggs

Directions

Preheat oven to 325 degrees. Line baking sheets with parchment paper.  In a large bowl, sift flour, baking soda, salt and cream of tartar together, set aside. Cream together the butter, oil and sugar.  Add water and vanilla, and mix until combined.  Add the eggs one at a time. Gradually add the flour and mix until all is incorporated.

Break off golf ball size pieces of dough and roll between your hands in to shape of a ball.  Place on baking sheets about 2 inches apart.  Pour about 1/4 cup of sugar in a bowl.  Use the bottom of a glass dipped into the bowl of sugar, to flatten each cookie on the baking sheets. Sprinkle with a little white sugar, then decorate with sprinkles/jimmies.

Bake for 10 - 12 minutes.  DO NOT let cookies get brown on the bottom, just slightly brown around the edges is fine.  Remove from baking sheet onto a paper towel lined cooling rack. ENJOY!


Wednesday, July 5, 2017

UGGG! All GOD's Creatures

I love living in the woods, what I don't like is the destruction of all the animals that live here too.  I know, I know, it was their home first, but groundhogs are my arch nemesis, these guys are making me crazy.  They are so destructive!  They dig holes everywhere, have eaten just about every flower or bush I have planted, they come up on the deck and feast on plants there too, and have caused $100's of dollars worth of damage around my home.

So the hubby and I had to wage a war on these guys and borrowed a trap from a friend.  It took three days, some fresh strawberries and cantaloupe and we caught one! Boy did he stink.  I have tried everything over the years to humanely deter them, but they just became immune to all the things I've used.  I was so relieved when we got him, and now everything would have a chance to grow......
 Or so I thought! Yea, that didn't work either.  I found another one proudly "standing his ground" on my front lawn.....
 and another one without a care eating clover .....
 And another one in the back yard. Evidently this is HIS family's homestead and he's not moving. UGGG! I have been defeated, I think.

Tuesday, July 4, 2017

Berry Good Salad

Berries are plentiful this time of year and at a great price too.  Take advantage of them now because the flavor of them will change come the cooler weather.  I use berries a lot of different ways, I make jam with them, eat them in cereal, eat them plain or sometimes with fresh whipped cream, use them in desserts and I love them in salads.  Using them in salads breaks up the monotony of vegetables in every salad you eat.  They are fruity and satisfying, sweet and delicious with a variety of dressings.

The hubby was amazed the first time I put fruit in a salad, he said "why are you putting that in there, I don't think I'm going to like that". I said "try it, you're going to love it" and he did, and here we are 30 years later and he's loving it!

I made this version of a salad with fruit a few nights ago.  I used fresh spinach, blackberries, raspberries, blueberries and pineapple to start building my salad.
Then added grilled chicken and feta cheese.....
Some candied pecans for crunch........
And topped it off with a raspberry vinaigrette.  Delicious, fruity and savory all at the same time.  It was filling and I didn't need dessert!  Summer salads are the best, use a variety of fruits in them, you're going to love it.


Monday, July 3, 2017

Awesome Vegetable Pasta Salad

My friend and I bounce different food and cooking ideas off each other all the time. We both have shared many old recipes and ways of making special food dishes.  Summer is here and to keep the kitchen cool and bellies full, lots of salads will be served over the next few months.  I usually back away from preparing heavy meals during the hotter months, I don't like to eat a lot when its hot.
So, my friend shared this great pasta salad recipe with me and now I will share it with you. It's great tasting, full of veggies, that's a plus in my book, and good for you too.  You can switch out the regular pasta for whole grain or wheat if you like.
Recipe below. 
To print recipe, click on it, highlight and print.
To view photos in a larger format, click on them.

I use Barilla pasta for my salad, I think its the best dry pasta around.  Fresh carrots, red and yellow bell peppers and English cucumbers.  The colors all mixed together are so pretty!
 Get the salted pasta water going on the stove and when it boils, toss the pasta in and stir.  I make mine al dente so they hold up in the salad.
 And while that water is coming to a boil, cut up those veggies and set aside.  I also use a can of black sliced olives in my salad.
 Drain the pasta when it's done, and run cold water through it until it's cooled.  Don't worry, you don't need that starch in there, rinse it off!
 Toss the pasta with the veggies in a large storage container. 
 Add cheeses.......
 and the golden Italian Dressing, it's the best.  Toss all together and store in the refrigerator until ready to serve.
Enjoy!
Vegetable Pasta Salad

Ingredients
1 lb. box of Barilla Pasta
1 red bell pepper
1 yellow bell pepper
3 whole carrots
1 large English cucumber
1 small can of sliced black olives, optional
1 1/2 cups shredded cheddar cheese
1 cup grated Parmesan cheese
2 cups of any brand golden Italian dressing

Directions
Start a pot of salted water on the stove.  When water comes to a boil, add the pasta and stir.  While pasta is cooking, prepare the vegetables. Seed and chop the peppers, peel and dice the carrots, peel and chop the cucumber.  When pasta is cooked al dente, a little hard in the center,  drain and run under cold water until cooled.  Make sure pasta is completely drained and transfer to a large storage container.  Toss the veggies and olives in and mix together.  Add the cheeses and mix. Add the dressing and stir it in.  Store in the refrigerator until ready to serve.  Salad may need extra dressing as it may be absorbed by the pasta.