Gearing up for the annual Christmas Cookie Baking Party held at my home every year. It's so much fun getting together with family and friends, baking our holiday cookies all in one day. Yes it is a lot of work, but so worth it in the end. We bake from about 8:30 AM to 8:30 PM. We do take a break for a very nice sit down luncheon that I prepare for everyone, then we get back up and start baking again. We baked over 1000 cookies for all of us to share last year, everyone went home with a huge bundle of cookies.
This gathering every year started out small 9 years ago when I decided to do this, and has now grown to 12 people this year. Everyone is asked to bring their own mixer and an assigned ingredient, usually butter, eggs, sugar or flour. I provide all the sprinkles, flavorings, nuts and other baking ingredients.
We have a great time every year, we laugh sometimes to the point of crying, we share family stories and have girl time. It's extra special for me this year, my youngest will be home from France and can join in on the fun. I haven't layed eyes on her since August! I will be so happy when her feet come through the door. The house will be "over the top" decorated this year in her honor, and her welcome home dinner may be Chinese takeout or Pizza. Go figure, she is in one of the fanciest food places on earth and wants common food when she comes home, that's my girl!
I am still planning stages of the baking party, I tentatively set the menu, my table scape and party favors. I did pick out all the cookies we will bake, my niece who is joining us for the first time is a professional baker, and she will decorate them. Alot of new things going on with this party, I am so excited.
I made initial tags for each place setting on the table that can also be used as a tree ornament or napkin ring, check them out, as well as some coordinating decorations I picked up along the way. Stay tuned to this blog for more holiday decorating to come. This is The Most Wonderful Time Of The Year for me!
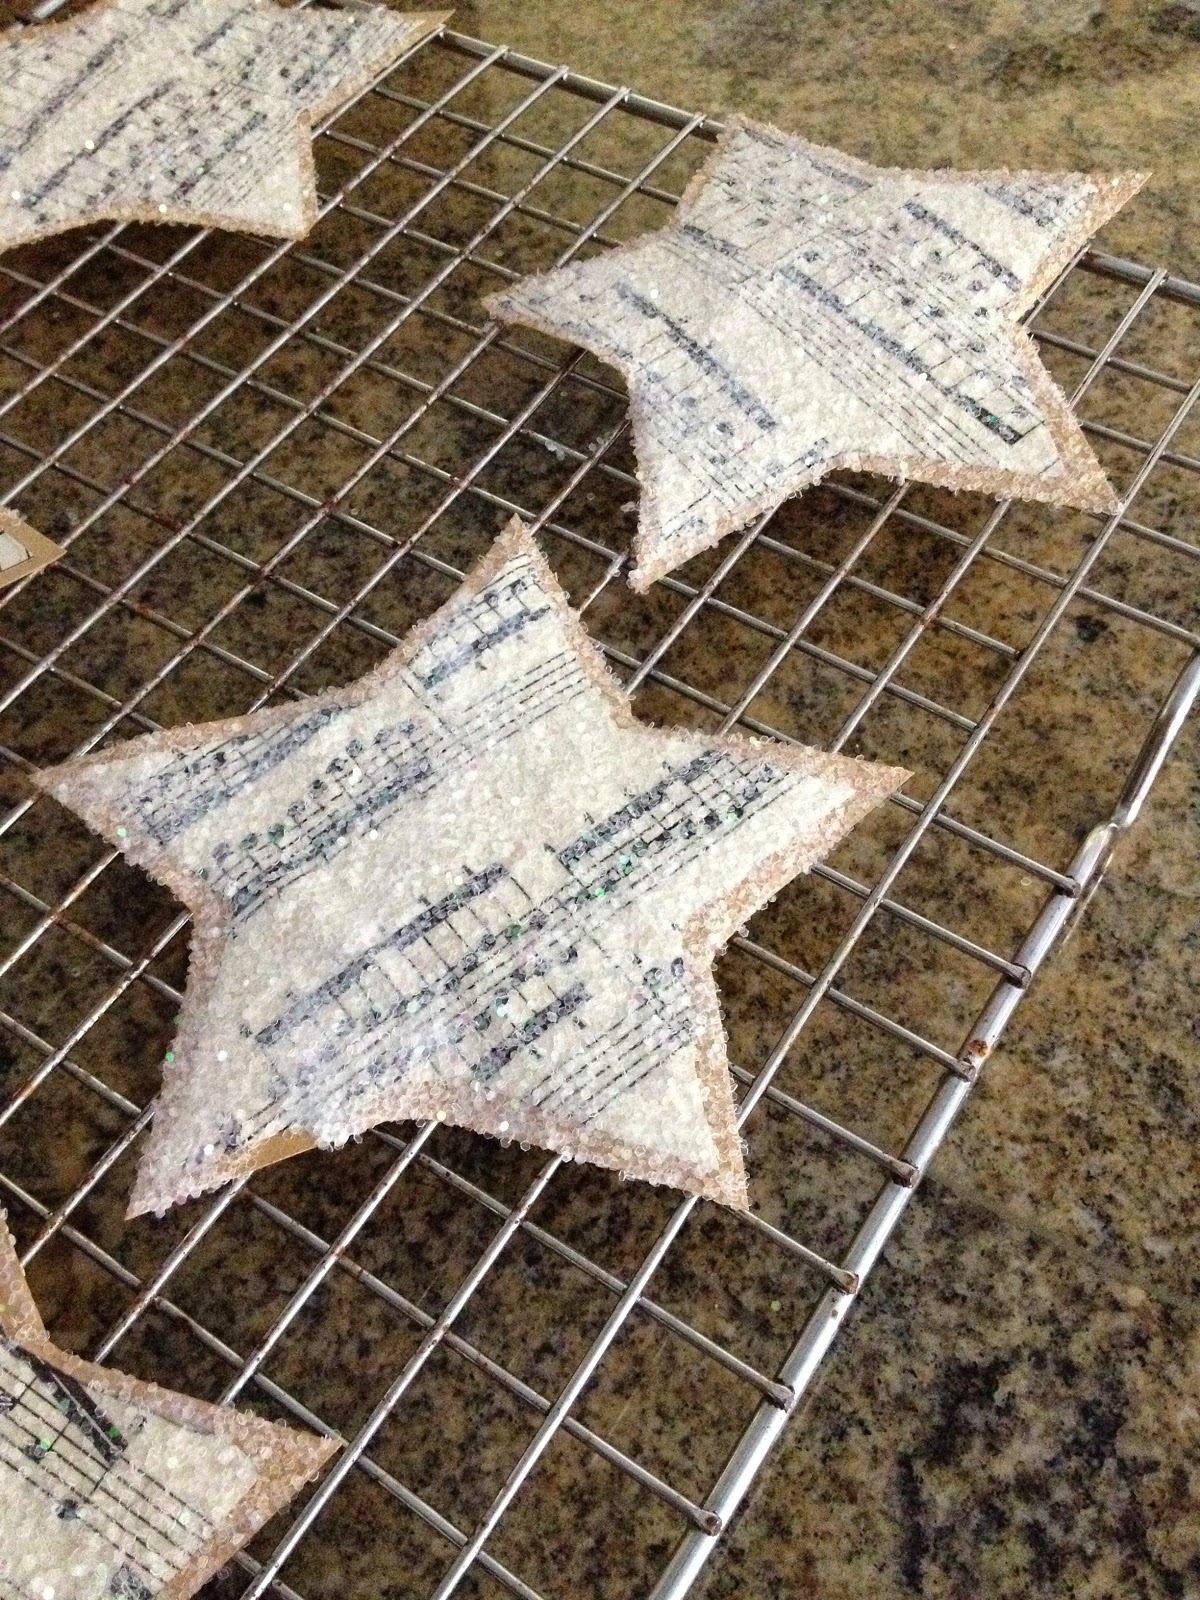
I used my kids' old music books for the stars, the tags will match all the Christmas decor I will have in my dining room.
I traced the stars with a cookie cutter and then cut them out.
I took a smaller star cutter and cut out the center stars, now I have 12 of each size star.
For a stiffer backing I used Kraft stock paper. I glued the paper stars onto the Kraft paper with a glue stick and then cut them out, leaving a small border of Kraft paper around the edges. I brushed a coat of Mod Podge on each star one at a time so it did not dry out, and sprinkled iridescent white glitter over the surface.
Tap the excess glitter off and dry on a rack, make sure they do not touch each other or they will stick together. Next I used glitter glue to write everyone's initial on each little star. Let them dry completely before touching. You can also use Elmer's glue and fine glitter for the initials as I did here with the green one.
I found this beautiful, soft velvet ribbon at Marshall's last year, I snagged a bunch of these rolls in different colors, because it was so pretty I could not pass it up . Each roll was 10 yards, alot of ribbon for $5.99. I cut each strip of ribbon about 10 inches long for a hanger.
My initial stars are dried and ready to be glued to the big star. I snipped some cedar greens from bushes in my front garden, hit them with a dot of glue, put a few dots of glue on the back of the small star, lay the small star on top of the greens and press so it sticks and dries.
Fold ribbon over to make a loop and glue to the back of the star. All done! Cute little place cards made with things I already had in the house.
Musical Note Merry Christmas Glittered Banner and Musical Note Burlap Ribbon - Home Goods
Glittered Snowflakes with Red Satin Ribbons - Christmas Tree Shop


0 comments:
Post a Comment